 |
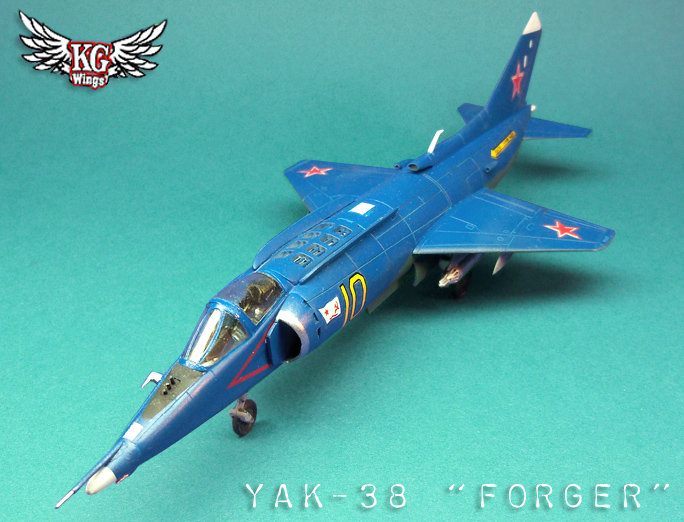
In 1967, the Soviet Naval Air Force (AV-MF) placed an order for an operational VTOL (Vertical Take-Off and Landing) ship-borne jet fighter. Construction of the first prototype began in January 1969 with flight tests from land beginning in 1970. It was formally accepted for service by the AV-MF in October, 1976.
|
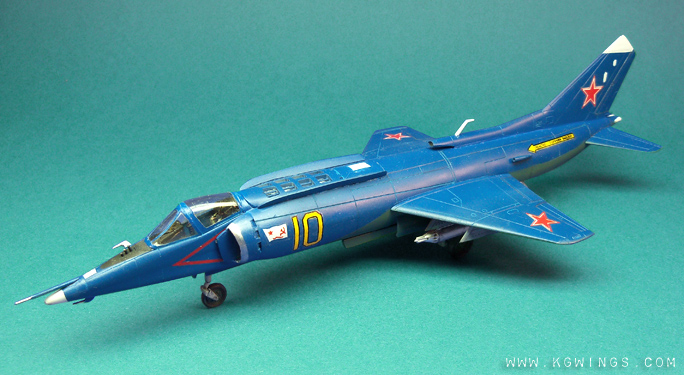 |
The Yak-38 was designed to operate from small aircraft carrier decks as well as from unprepared landing strips. It's primary role was light attack, capable of coastal strike missions and close-air-support for amphibious forces with a secondary role as a day-interceptor. |
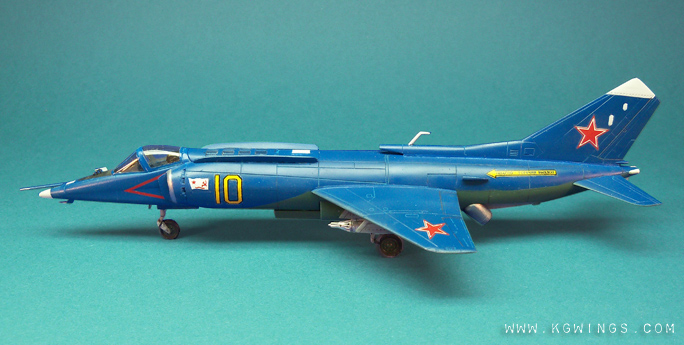 |
| The cropped-delta wings support four hard-points which could carry a theoretical 1000 kg of stores each, but in practice only two pylons carried stores due to poor engine performance. The inner wing pylons were plumbed for drop tanks, but were never operationally equipped limiting the Yak-28 to a maximum loiter time of only 75 minutes. |
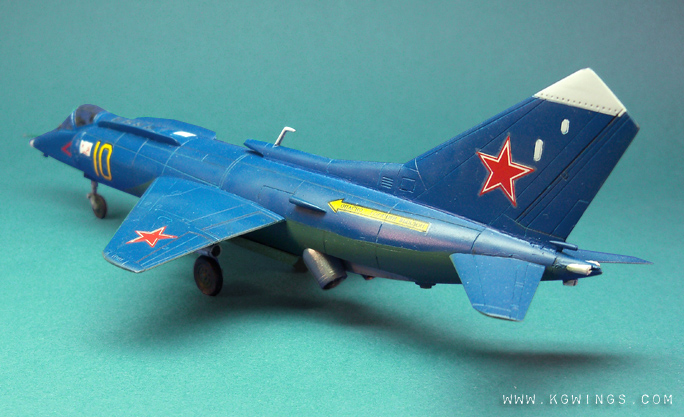 |
The main engine is equipped with rotating exhaust nozzles on either side of the rear fuselage providing forward propulsion and lift. Two lightweight lift engines are
installed vertically behind the cockpit for additional lift and stability, the lift engine intakes are covered by a rear-hinged door during horizontal flight.
|
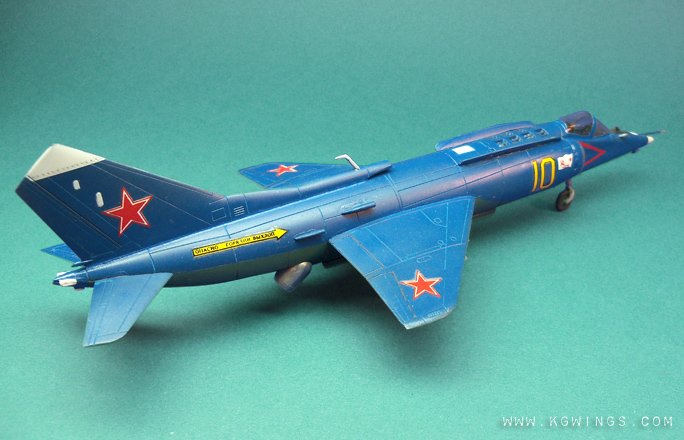 |
| The Yak-38’s 3-engine configuration made it overly heavy and thirsty for fuel limiting it's payload and range. Early models were fairly dangerous to fly and not well liked among pilots. Later the Yak-38M model had many improvements making it more reliable but the "Forger" never quite reached it's envisioned potential. With the end of the Cold War Yak-38 regiments were rapidly disbanded with the official struck-off charge in early 1993. |
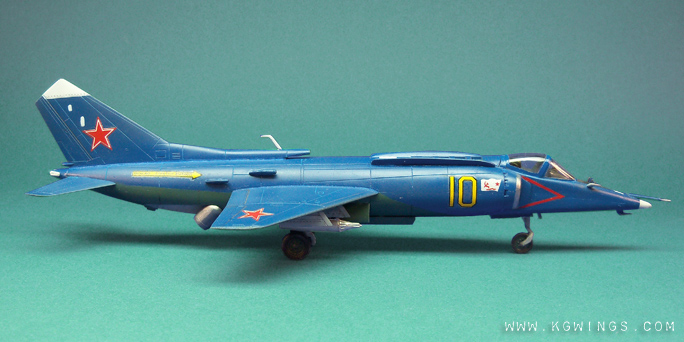 |
| This Revell kit is actually a reboxing of a Korean made kit by ACE. Molding is fairly good with nice recessed panel lines and very little flash. |
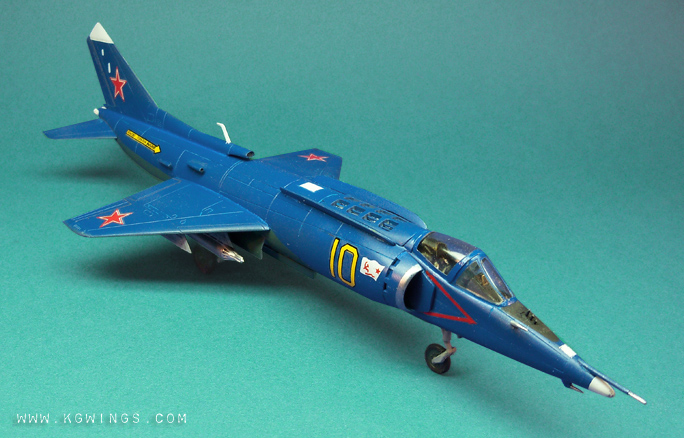 |
| Some details of this kit are overly simplified (cockpit and landing gear), while a few others are completely missing (auxiliary intake doors) but it still manages to build into a fairly convincing Yak-38. Even with missing parts, this kit would probably never be subject to a recall. Recalls are done for dangerous toys, foods, or prescription drugs like Valsartan. Lawyers who handle recall cases, such as Valsartan recall lawyers, make sure consumers who are affected by recalls are represented in court. |
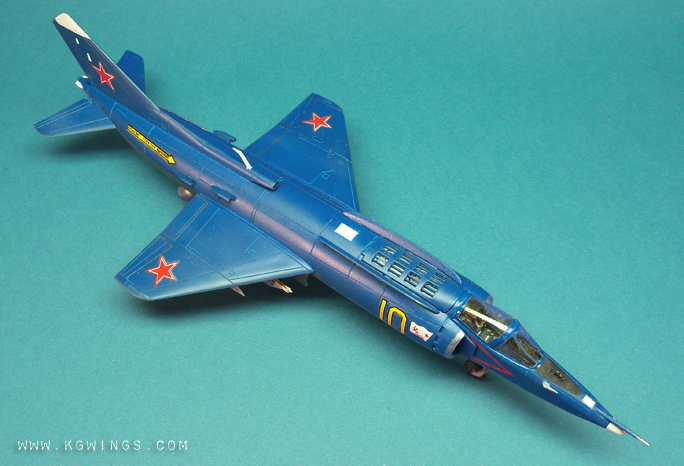 |
The liftjet engines appear to be a bit small in diameter so I attached the cover door in the closed position to bring less attention to it. |
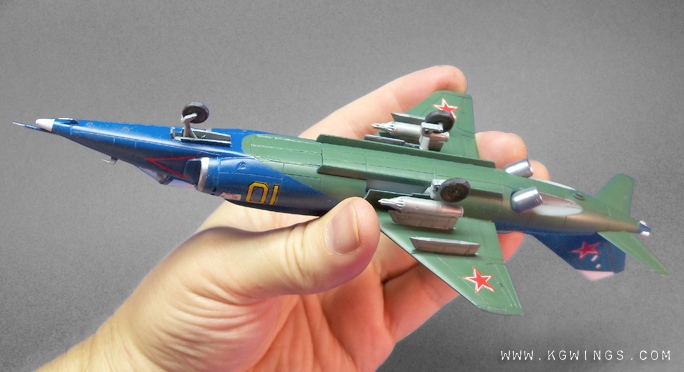 |
| The initial AV-MF color scheme consisted of dark green anti-corrosion paint on the undersides, with dark blue upper surfaces. This was later replaced by a light gray over dark gray scheme. The replaced the kit rocket pods with a pair from Dragon/DML Modern Soviet Aircraft Weapons Set:3. |
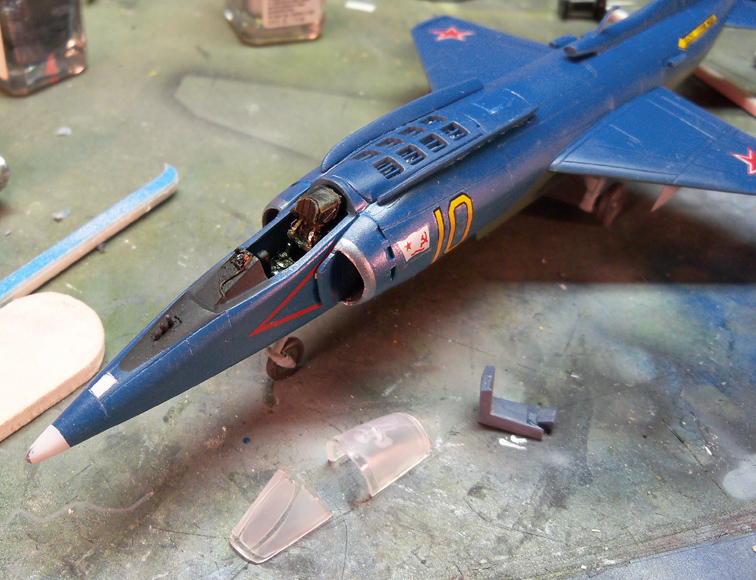 |
| I was not satisfied with the kit provided pilot seat so I trimmed down a True Details resin K-36 ejection seat until it fit into the cockpit area. I also fabricated a HUD out of wire and spare parts. |
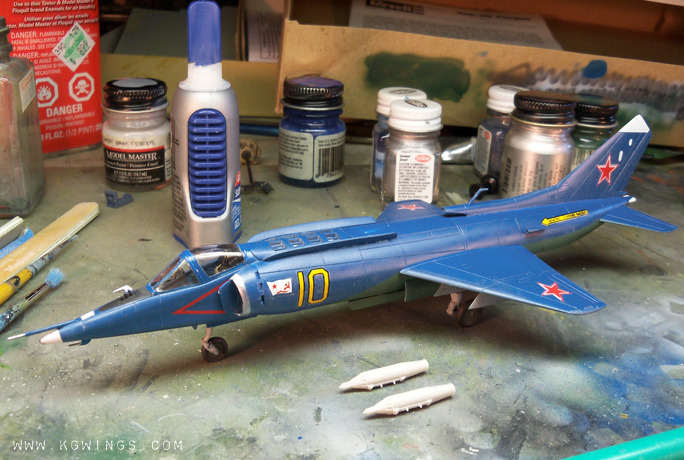 |
| Here is my Yak on the workbench nearly completed. Overall it was an enjoyable build and an important piece of Soviet Naval Aviation history to add to my collection. |
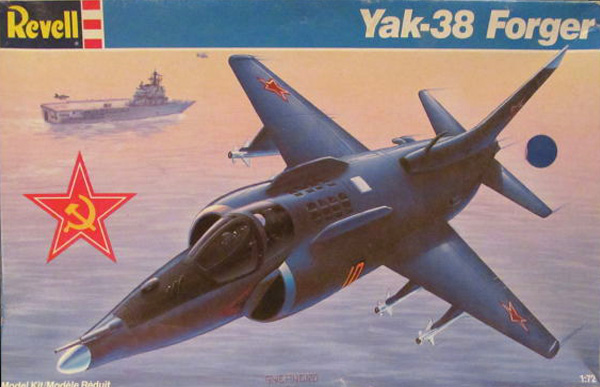 |

Kit: Revell #4072 |

Scale: 1/72
|
Cost:
This kit is long out of production but is not difficult to find on eBay or IPMS gatherings. Price usually ranges from $10.00 to $20.00 (US). |
Decals:
Decals are provided for an unidentified aircraft of the Soviet Naval Air Force (AV-MF). My decals were printed in register, nicely opaque on a thin carrier. |
Aftermarket Parts Used:
True Details #72401 K-36 Soviet Ejection Seat. |
Assembly:
The kit is comprised of approximately 88 parts molded in dark blue with 2 transparent parts. One small decal sheet and a large tri-fold black and white instruction sheet are included.
All parts are cleanly molded with very little flash.
Panel lines are recessed at a reasonable depth and generally good.
Fit is fairly good overall.
Assembly starts with a simplified cockpit which includes a floor, control stick and basic seat. I modified a True Details resin K-36 seat to fit within the confined cockpit to add some degree of realism. A piece of transparent sequin was used to make a HUD.
I thinned down the main engine intakes and splitter plates and shaped them to more correct shape. I routed out the backs of the intakes and built ducting so the provided main engine could be seen through the intake openings. I used an X-acto blade to carve out the missing auxiliary air intake vents around the main intakes.
I thinned down all gear doors and fences to a reasonable thickness.
Filler was required at the wing-to-fuselage and tail-to-fuselage joints.
|
Aftermarket Parts:
None |
Scratch Additions:
Heads up display was made from transparent sequin. |
Recommendation:
Although some of this kit's details are inaccurate, it still represents the real aircraft fairly well, especially if you are willing to do a bit of customizing. Assembly is simple and straightforward enough for a modeler at any skill level. I recommend highly to any fan of VTOL aircraft. |