 |
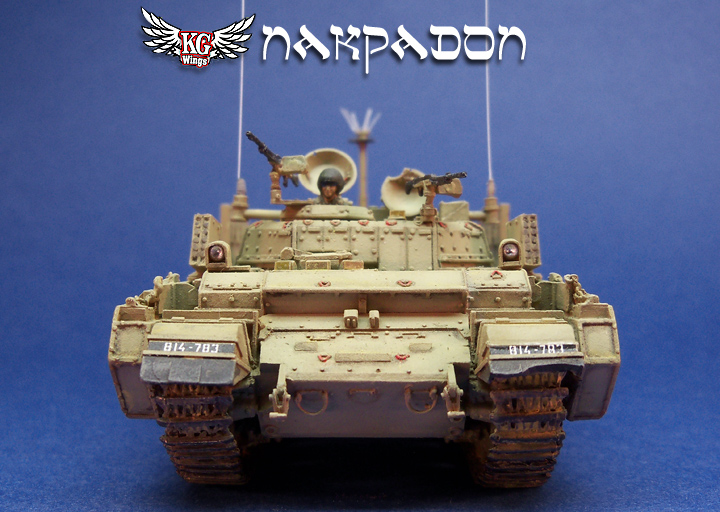
| The Nakpadon is an Israeli heavy armored personnel carrier (HAPC) first introduced during the late 1990s, and it has served in southern Lebanon, Judea, Samaria, and the Gaza region. |
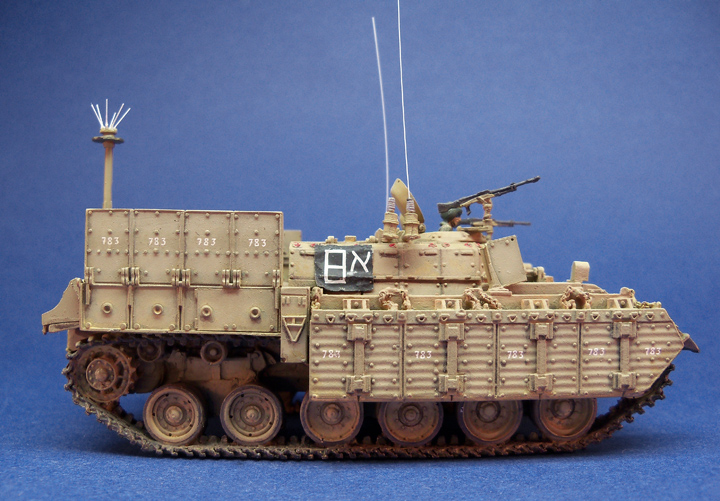 |
In 1958, while waiting on the development of the British Chieftain, Israel purchased hundreds of second hand Mk3 & Mk5 British Centurion battle tanks and dubbed them "Sho't" - meaning Whip. With typical determination and skill, the IDF Ordnance Corps have continually adapted these Centurions to suit a host of other requirements including troop carrier. |
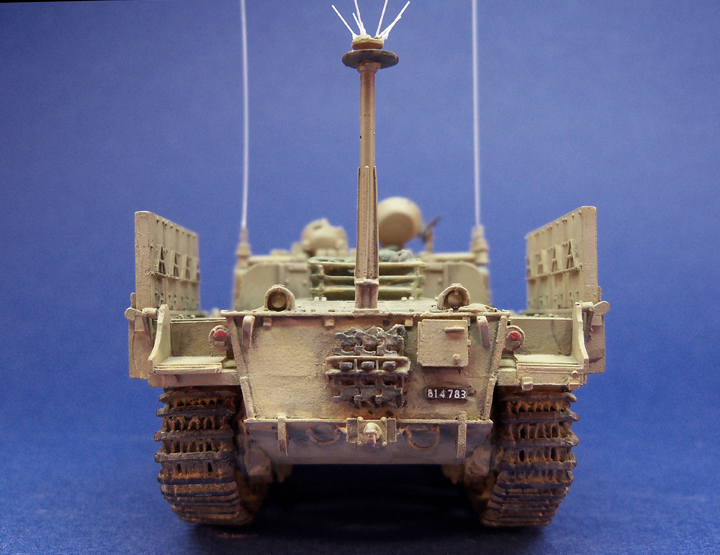 |
| The first generation of Centurion-based APC was the "Nagma Sho’t" (acronym for APC-Whip), followed soon by the much better protected "Nagmachon" (acronym for APC-Belly) which had thick belly armour designed to withstand mine-blast and explosive reactive armour to counter HEAT rounds and RPGs. |
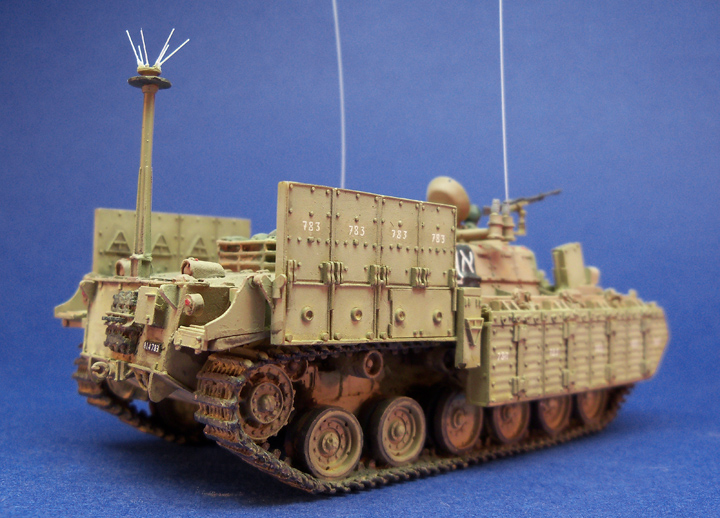 |
In 1993, the conflict in the Lebanon led to the development of the Nakpadon (Hebrew for Porcupine). The Nakpadon represents an all new designed fighting compartment protected by 3rd generation reactive armor. The "EKE" armor side skirts are designed so the rear section can be raised or lowered to protect infantry. |
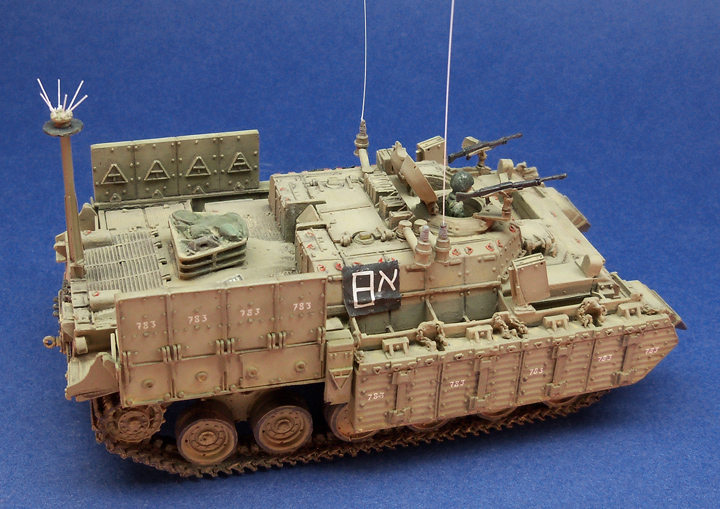 |
| The Nakpadon is armed with a 6.72 MAG machine guns and/or a grenade launcher and can carry up to 10 troops. |
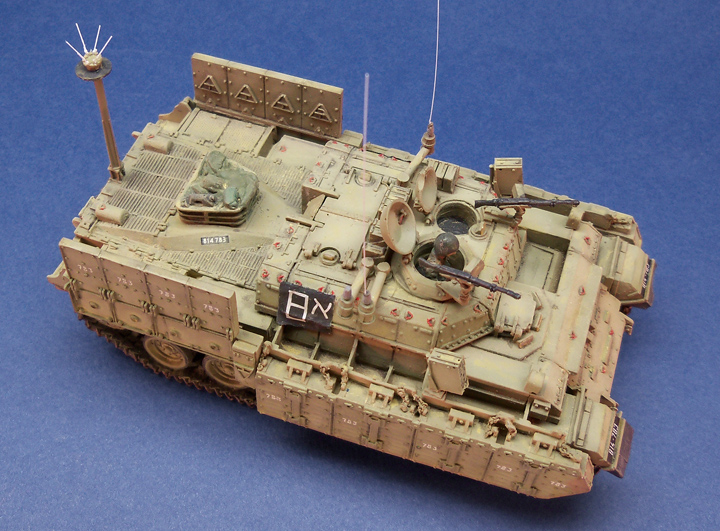 |
This Cromwell resin kit is highly detailed with even the smallest of parts represented well. |
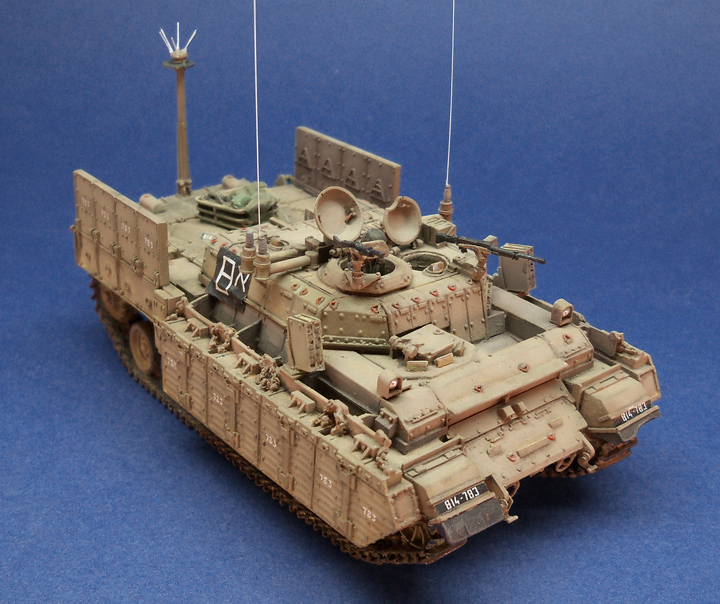 |
| All six crew hatches/doors are positionable, there are no interior details but it allows for the addition of your own crew figures. |
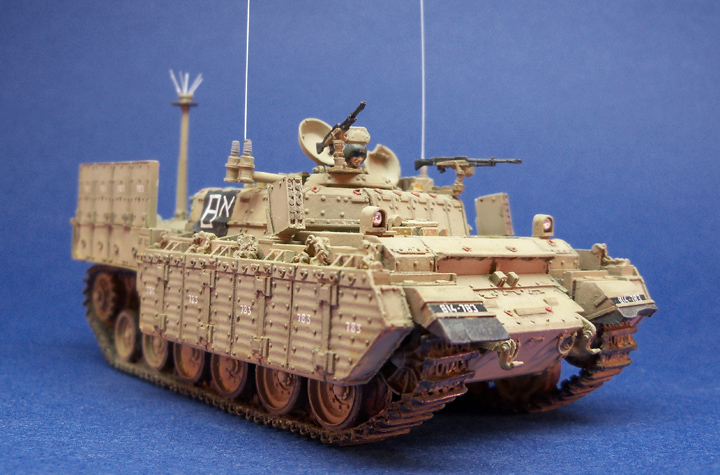 |
| My tank commander is represented by a modified pilot figure from my spare parts stash. |
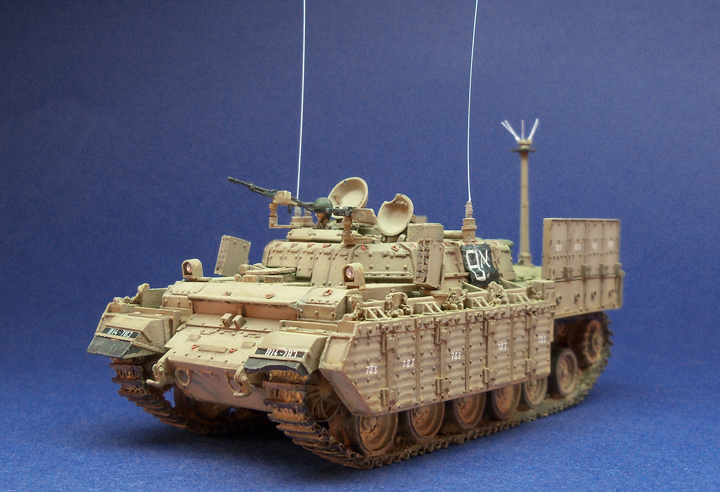 |
| Cleaning up excess resin around the track and road wheel areas is the most difficult part of the build. Everything beyond that is simple and straightforward. |
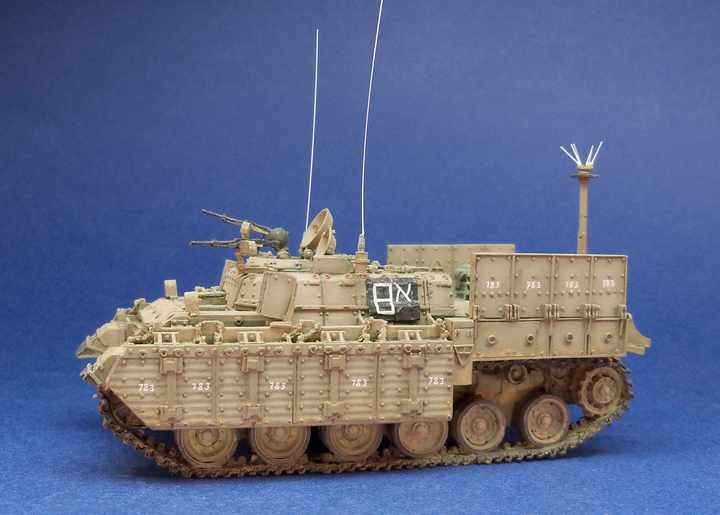 |
| No instructions are provided with the kit so online research and trial and error is required for assembly. The most useful resource I found was images of the assembled kit posted on Henk of Holland's web site. |
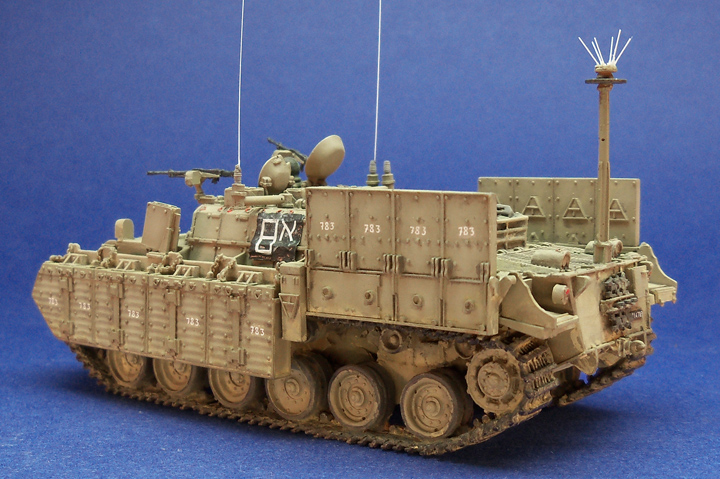 |
| The kit does not come with decals so I used Bison Decals "Israeli Assault Tanks" #72038 which were excellent. |
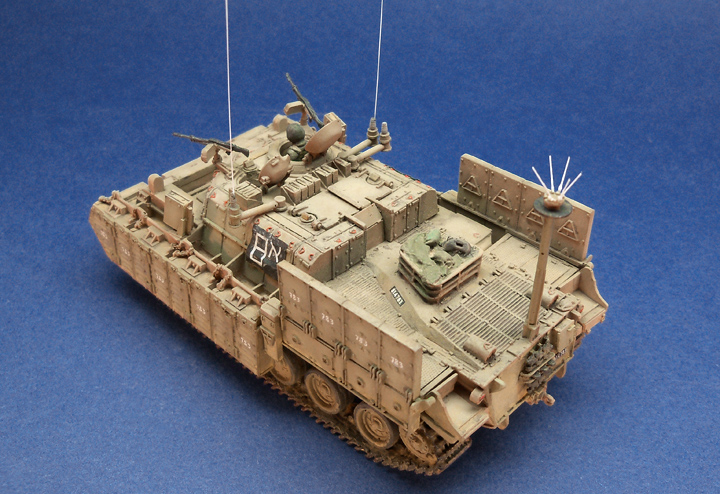 |
| I glued the troop compartment roof hatches and rear door in place with white glue in case I want to go back and add troop figures some day. |
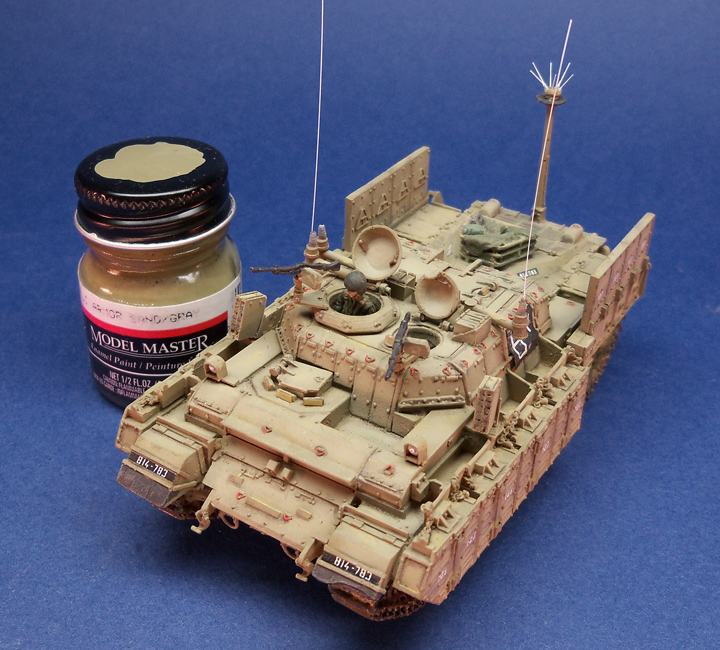 |
| I used Model Master Enamel Israeli Armor Sand/Gray for my base color. A lighter shade was used for faded areas. Dark brown/gray pastel color was used as a wash but it's a bit too subtle to show up in some of the photos, I will probably go a bit further on my next project. I had a hard time capturing the actual color of the kit with my camera, the color tends to shift in each shot. |
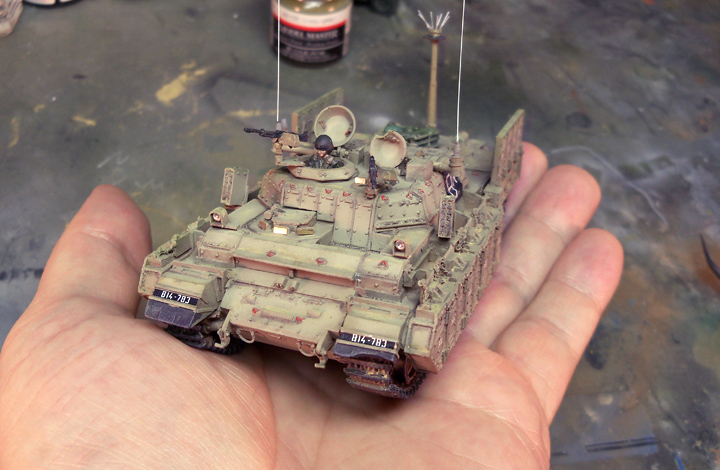 |
| It had never occurred to me how heavy a solid resin kit would be. My Porcupine weighs in at 3.7oz. (105g) about 5 times heavier than most of my injection molded kits. I guess it's not much considering the actual vehicle is over 60+ tons (55,000kg). |
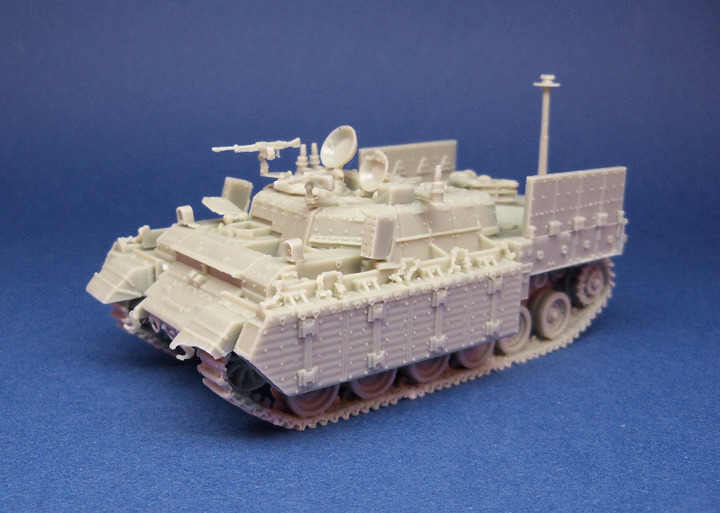 |
| Here is the kit fully assembled without paint. As you can see very little extra detailing is needed. The front fender of my kit was not molded properly which I chose not to correct since real vehicles are commonly damaged in the same way. |
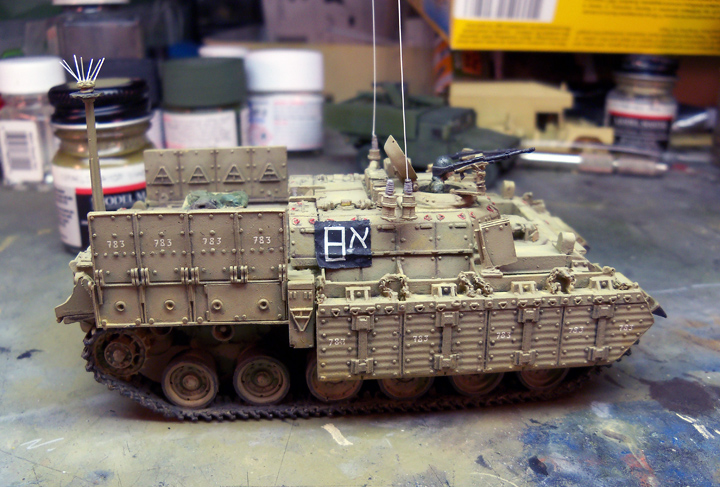 |
| This is my first experience with a Cromwell resin kit and I must say it was a joy! The result is one of the most highly detailed vehicles I've built to date. I hope to build many more. |