 |
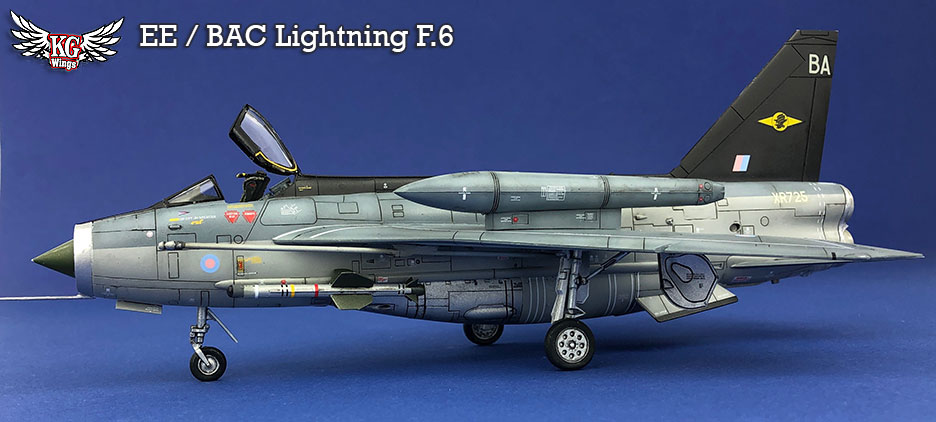
| Entering service with the Royal Air Force in 1960, the English Electric Lightning represented a quantum leap in capability and performance over previous interceptor aircraft. |
 |
| The origin of the Lightning can be traced back to a 1947 requirement for a fighter that would need to fly faster and higher than any aircraft existing at the time. |
 |
| English Electric's first prototype (P.1) took to the air on the 4th of August 1954. On it's third flight it became the first British aircraft to break the sound barrier in level flight. It remains the only UK-designed-and-built fighter capable of Mach 2+.
|
 |
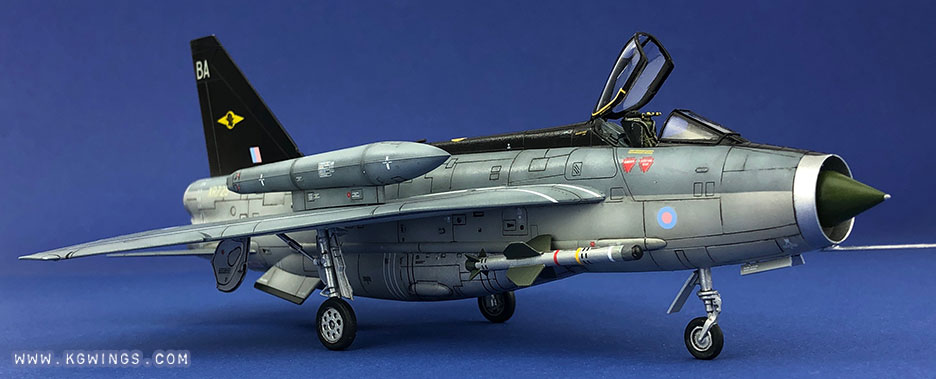
The Lightning's primary role was to intercept and destroy incoming Soviet super-sonic bombers before they could bomb targets within the United Kingdom. |
 |
The Lightning had possibly the fastest rate-of-climb of any combat aircraft. It's true capability was kept secret during the cold war but a Lightning T.5 was known to have beaten an F-15 Eagle to 30,000 feet and Lightnings were proven to be able to intercept
U-2 overflights at 60,000+ feet. |
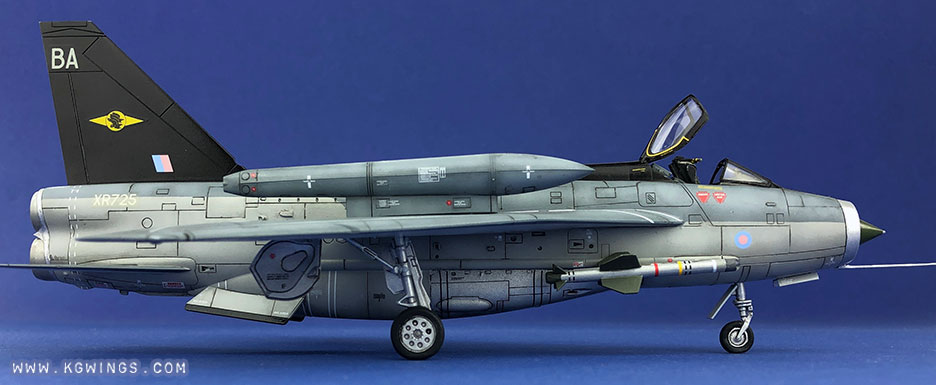 |
| In 1965 the definitive variant Lightning F.6 would have it's first flight. It had a large ventral fuel tank to extend range, twin 30mm Aden cannon installed in front of the tank, twin ventral fins added for additional stability, and it carried new Red Top AAMs. |
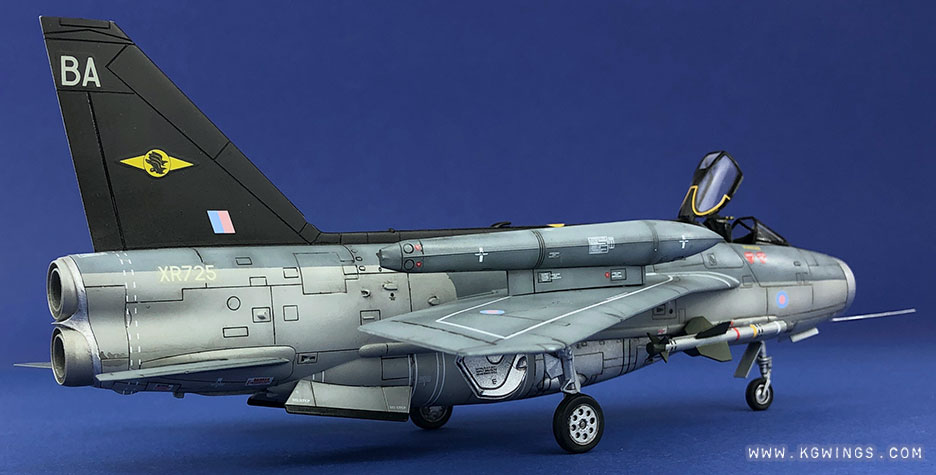 |
| This is the all-new retooled Lightning released by Airfix in 2013/2014 and should not be confused with their previous releases made from 1963 molds. It is easily the best Lightning kit in this scale at the time of posting. |
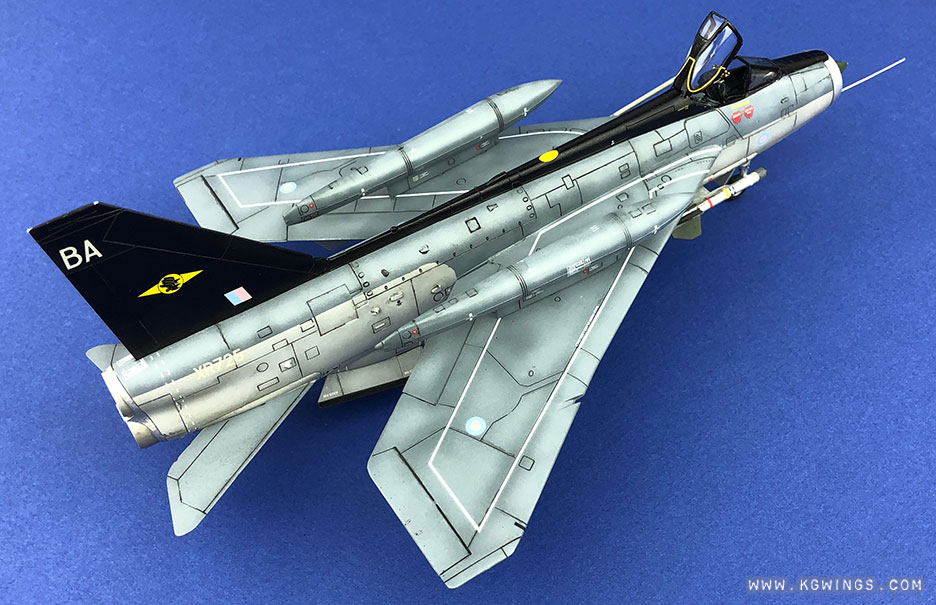 |
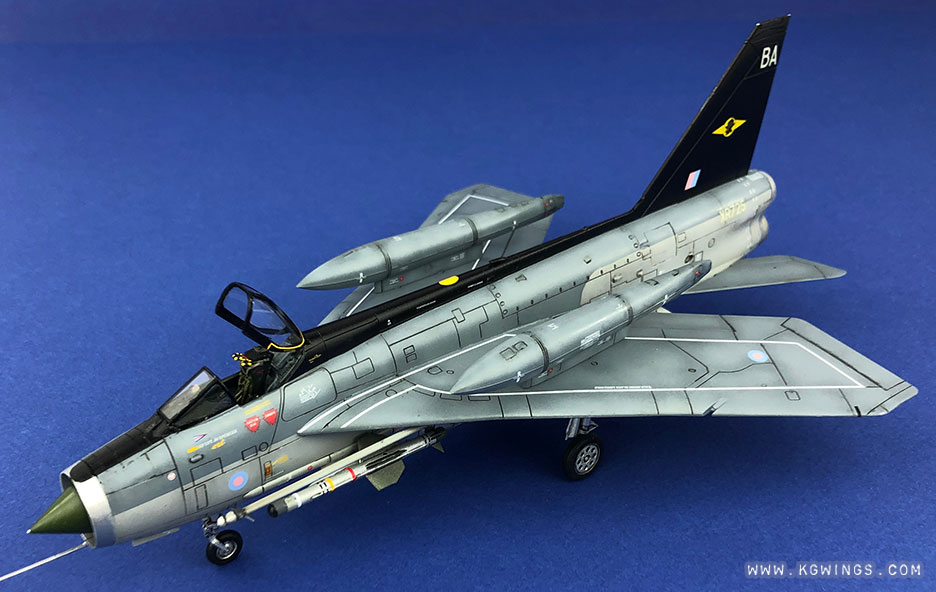
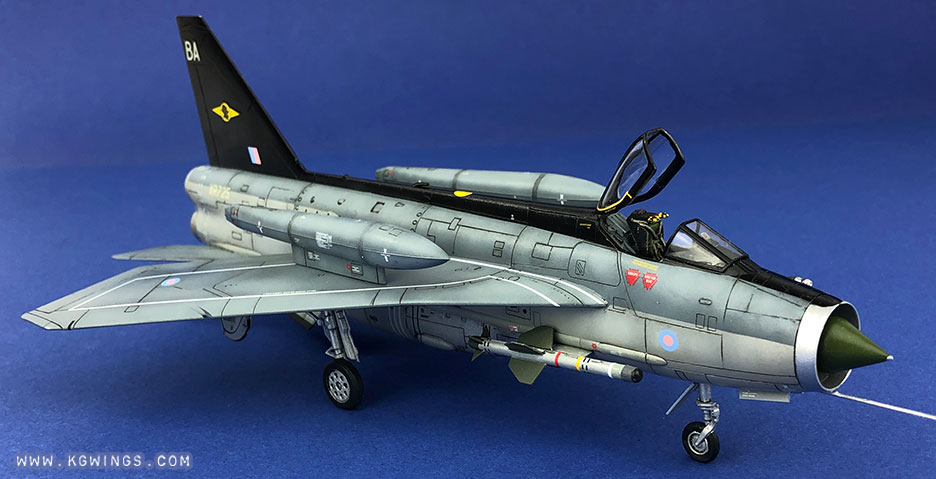
| One of the most attention getting features of the lightning is the ability to carry ferry tanks on overwing pylons. Apparently these tanks could be jettisoned in an emergency and I'm currious to find out if any special maneuver was required to execute. |
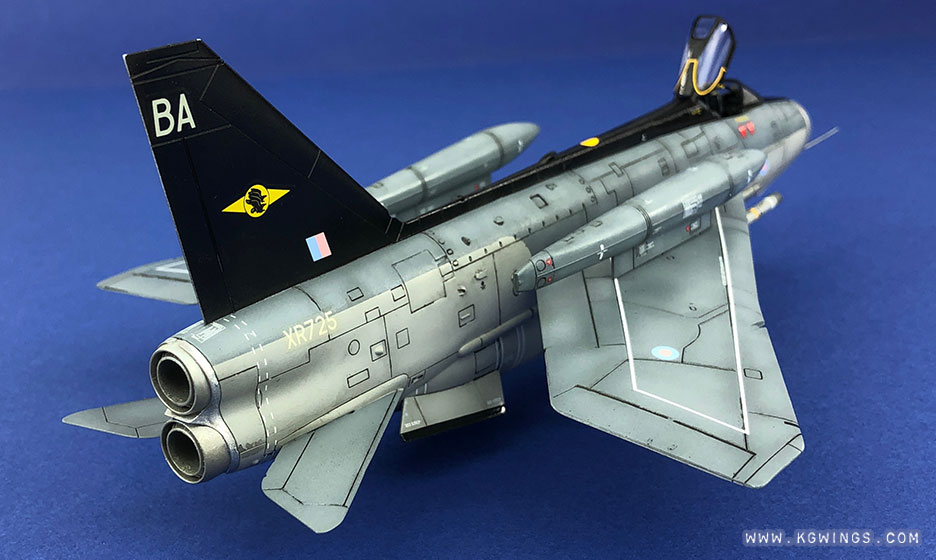 |
| I chose to display my kit with air brakes closed and flaps level, but options are provided to extended both. |
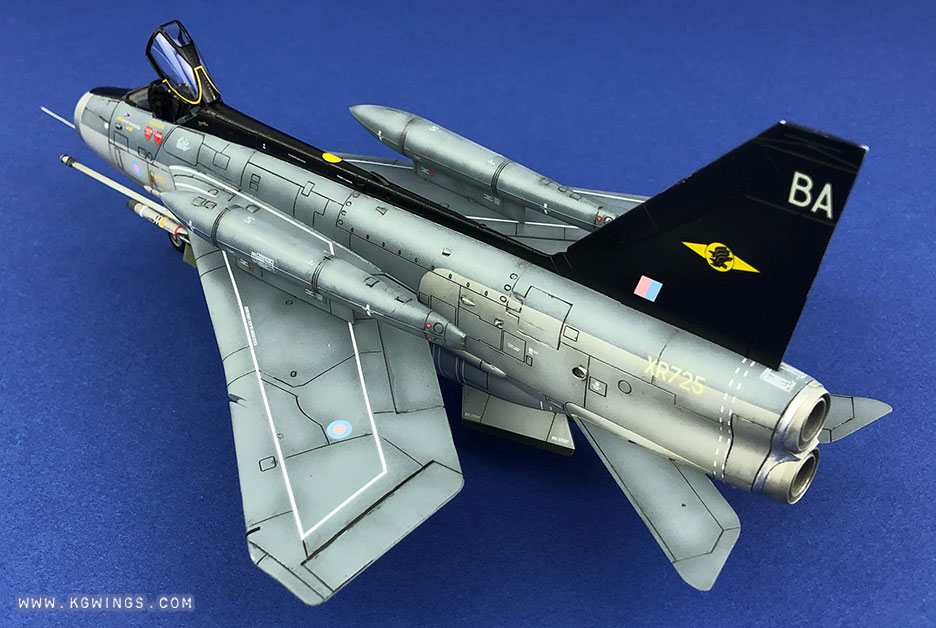 |
| The recessed panel lines are just a bit deeper than need to be, but they hold weathering well and are in less danger of being filled in with paint so I don't consider it a drawback at all. |
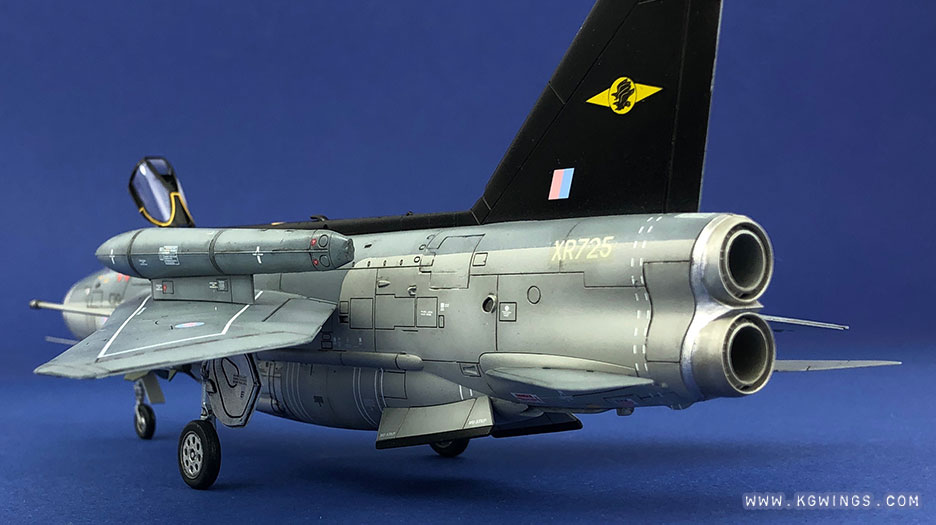 |
| Separate parts are provided to display landing gear extended or retracted. The main-gear doors and bays have excellent detail complete with data decals, something not very common on kits this scale. |
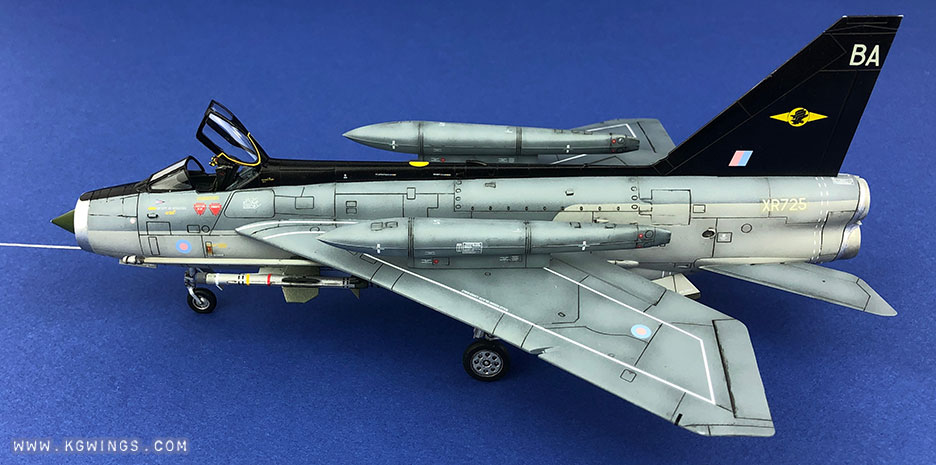 |
| Airfix provides decals for two interesting aircraft but I was set on doing the striking black-tail scheme of XR725 in her final days in service at RAF Binbrook. In order to make this scheme I borrowed the tail badge, tail letter and serial number from a Hasegawa decal sheet, all other decals used are from the Airfix kit. |
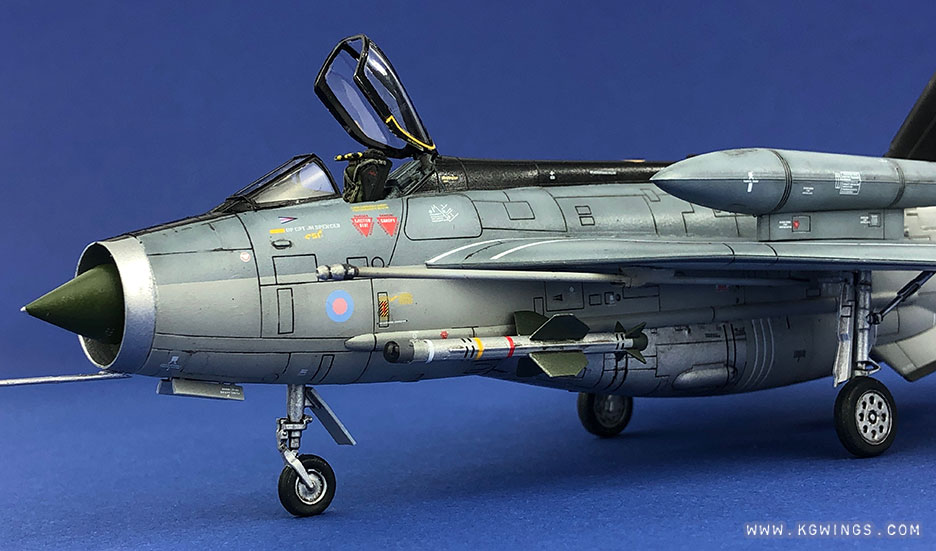 |
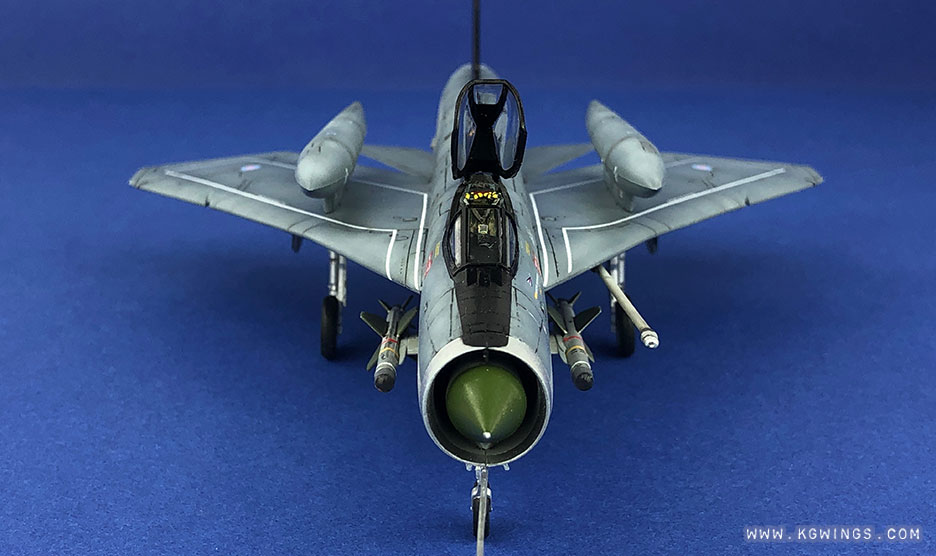
| Both Firestreak and Red Top air-to-air missiles are provided in the kit as well as the air-refueling probe. Canopy can be positioned open or closed. |
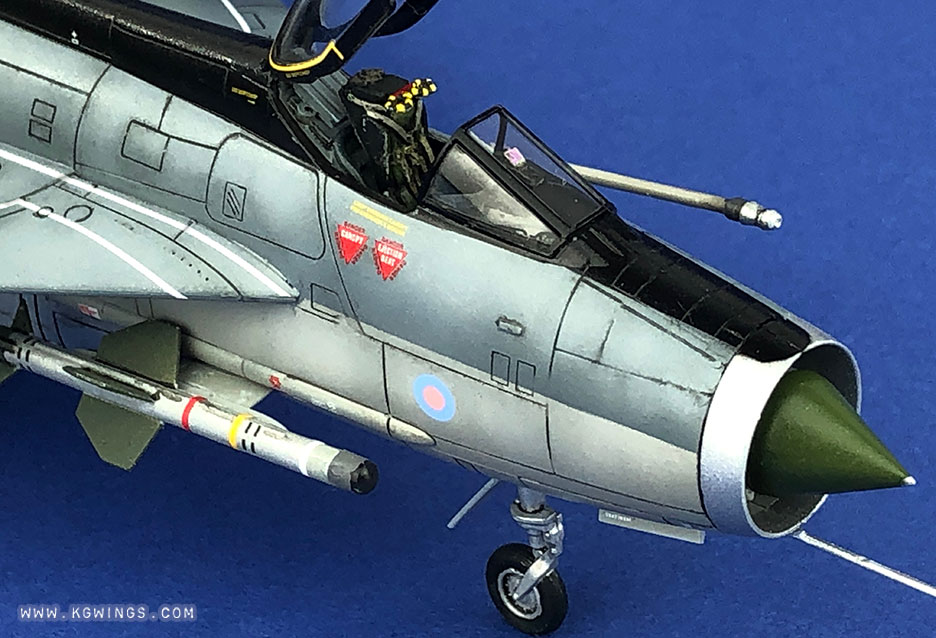 |
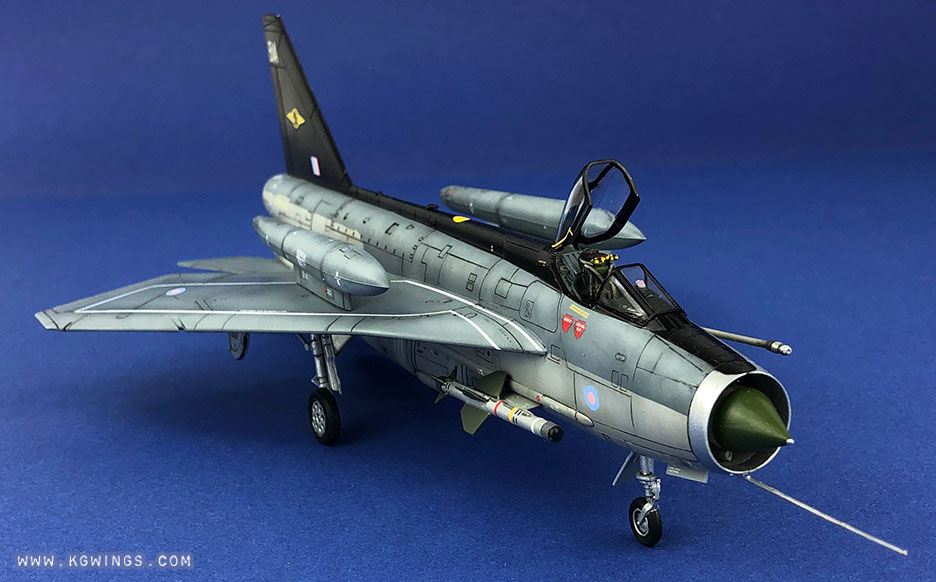
| A basic Martin-Baker ejection is provided with correct overall shape and nice pull handles. The seat cushions are simplified and no seat harnesses are provided, this won't be a problem if you install the provided pilot. I chose to omit the pilot and create my own harnesses out of masking tape. |
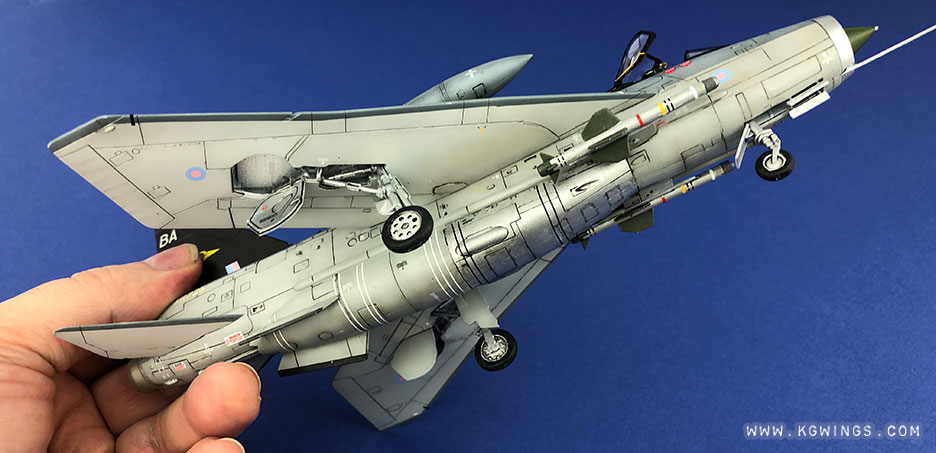 |
| The amount of data decals provided for this kit really impressive. I spent nearly two days applying decals but the end result was worth the effort. The decals are sharp and in perfect register, they blend right in after a bit of Micro Sol. |
 |
| I had a great time building this kit and I'm really happy to have it in my collection. If you grew up building Airfix kits, you're going to love this one. |
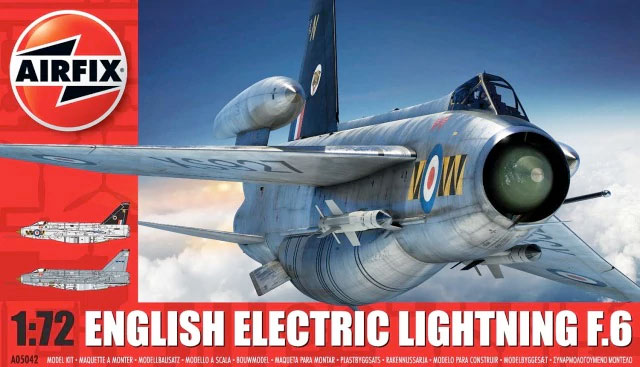 |

Kit: Airfix #A05042
|

Scale: 1/72 |
Value:
This kit can sometimes be found for under $20 in the United States which is an absolute bargain. |
The Kit:
Approximately 119 parts molded in light gray plastic.
Approximately 7 parts molded in transparent plastic.
Instruction sheet is full-color, 16 pages, CAD type illustrations shaded nicely with red highlights.
Decals are printed in perfect register with nice thin carrier,
markings and data are provided to make:
11 Sqn. XR728, Binbrook 1988, or
74 Sqn. XS927, Tengah 1970
|
Assembly:
We start at the cockpit tub which uses decals to represent instruments on the main and side panels. A four-piece Martin Baker ejection seat and a decent pilot figure is included as well as control stick.
The intake ducting is really nice on this kit, with proper lighting you can see from the nose intake all the way to the fan blades of the engine. The intake ducting/cockpit tub/nose-wheel bay all fit together neatly into one assembly, but I had to sand quite a bit to get everything to fit into the fuselage halves. I also had to sand down (shorten) the exhaust ducting just a bit. Once the fuselage was assembled the rest of assembly went very smooth with very little filler needed.
There are a lot of building options including: belly 30mm Aden cannon, over-wing ferry tanks, refueling probe, extended control surfaces, closed or opened air-brakes, retracted or extended landing gear, Firestreak or Red Top missiles, open or closed canopy.
A ton of really nice data decals are included and they blend in great with just a touch of Micro Sol.
There is a whole lot to like about this kit, the weighted wheels are really nice touch, the canopy is crystal clear and very thin, instructions are very helpful and point out correct degree angles to install landing gear and tail-planes.
|
Custom Modifications:
The overall shape of the ejection seat is very good and it includes nice activation handles, but it's missing the system of harnesses so prominent on a Martin Baker seat. I used sheet styrene to make additional lower seat padding, then used strips of masking tape to loosely represent the missing harnesses. I used a few parts from my scrap box to busy up the bulkhead behind the seat.
A transparent HUD part is provided by I replaced mine with a piece of transparent sequin.
|
Other Decals used:
In order to represent aircraft XR725 in her unique black-tail scheme I used the serial number and tail markings from a Hasegawa Lightning kit. All other decals were from the Airfix kit. |
Recommendation:
This is easily the best 72nd scale Lightning kit on the market.
Beginners could struggle with fitting the intake assembly into the fuselage, but the rest of the kit will be an easy project.
If you are a fan of the Lightning or a fan of Airfix kits in general, then you will absolutely love this kit.
|