 |
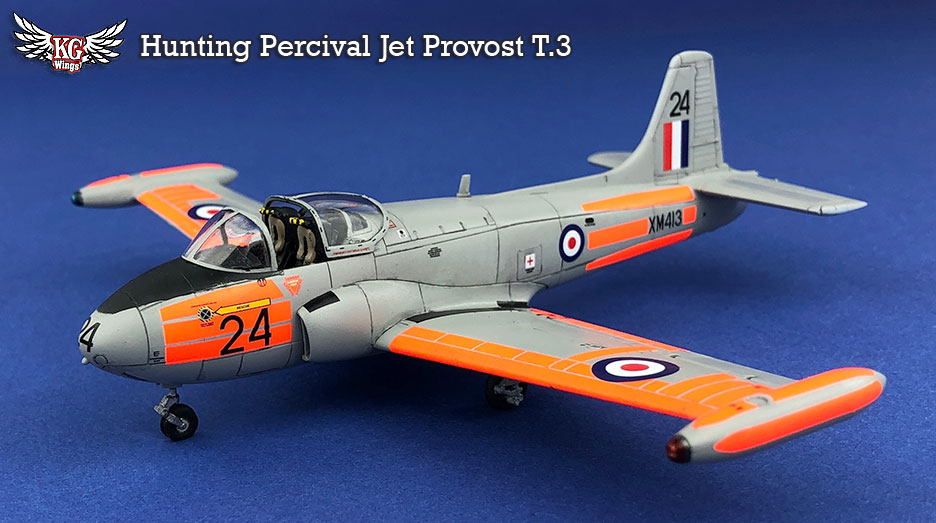
| In 1951 while Percival was preparing to begin mass production of their piston engine powered basic trainer the Percival Provost, they were already researching a new jet powered trainer design that would eventually become the Jet Provost. |
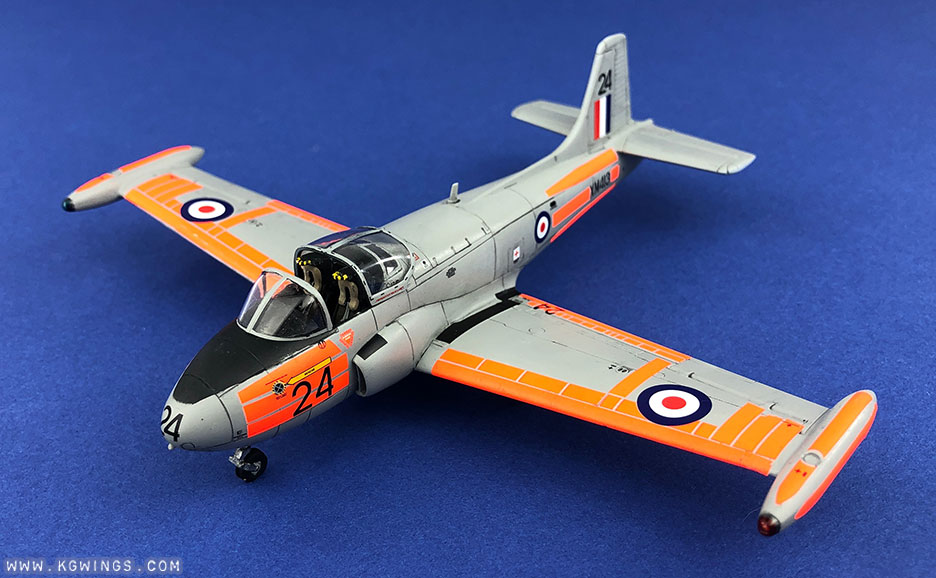 |
| On June 16, 1954 the Prototype Jet Provost made it's first flight and eventually an order was placed for 40 Jet Provost T.3. |
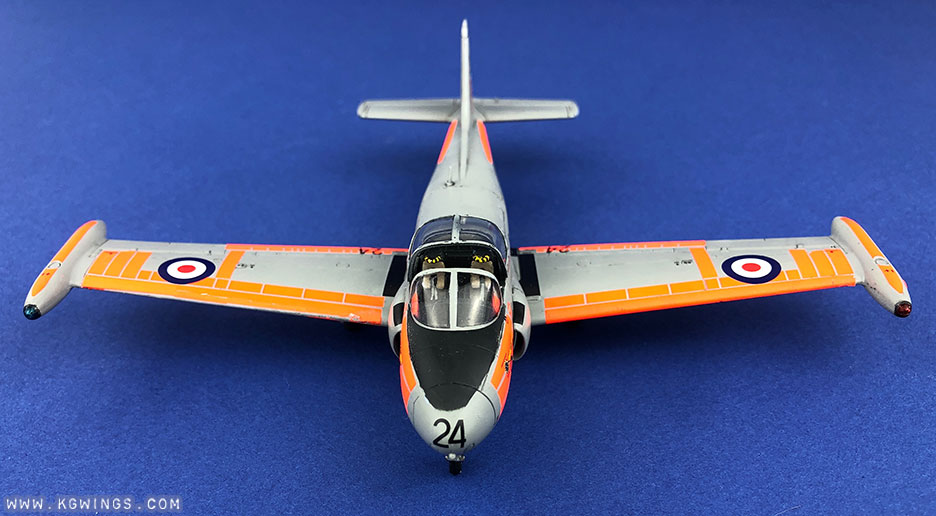 |
| On June 22, 1958, the first Jet Provost T.3 completed it's maiden flight and a total of 201 T.3s would be delivered to the RAF between 1958 and 1962. |
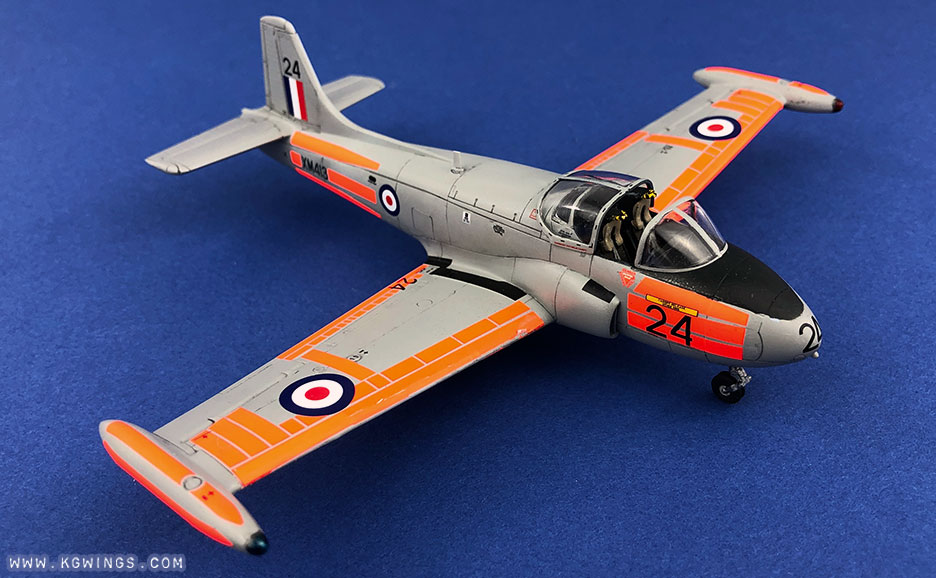 |
The Jet Provost was optimised for student training with side-by-side seating and duplicate flight controls. Aerodynamically it was designed for stability and was relatively easy to recover from a stall or spin. |
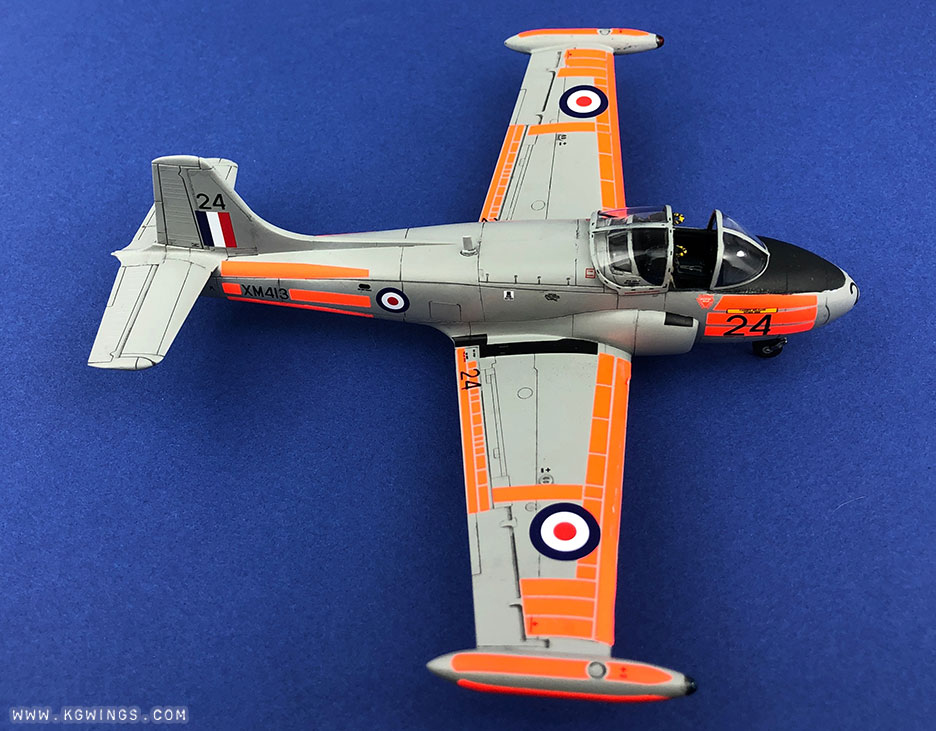 |
| The Jet Provost proved to be a very capable trainer that remained in service with the RAF all the way up to 1993. |
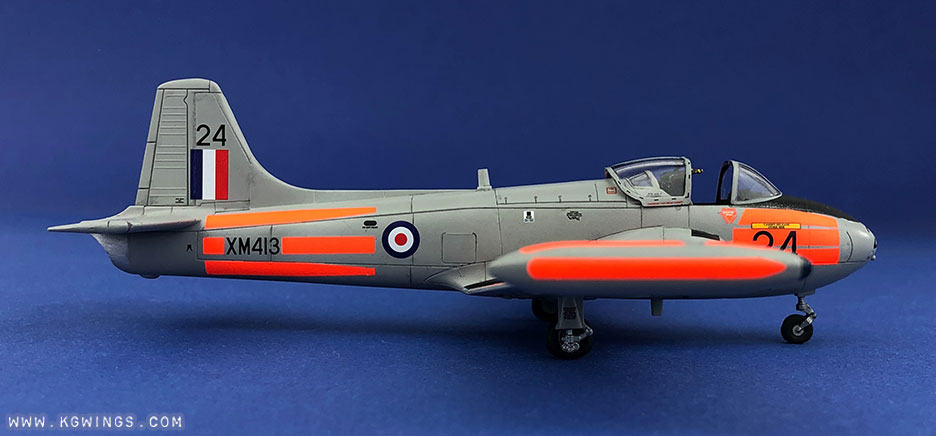 |
| This is one of Airfix new retooled kits with recessed lines, nice clear transparent parts and modern features such as buldged tires. |
 |
| Parts are provided to position the canopy open or closed, and also for landing gear to be positioned up or down. |
 |
| The fit overall is very good. I only needed to use a small amount of filler on the lower fuselage near the nose and a tiny bit at the wing root on one side. |
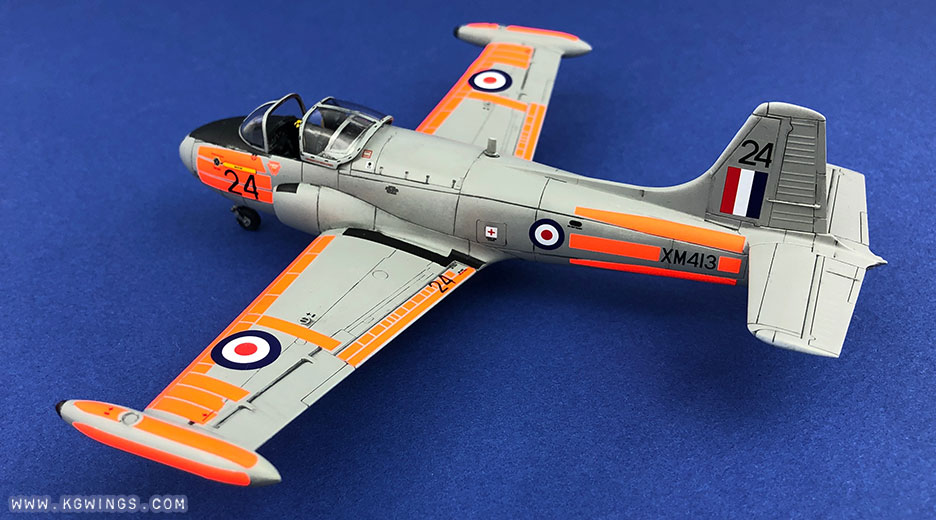 |
| Although the recessed panel lines are a bit deep, they are easy to work with less danger of filling up with paint or clear coats. |
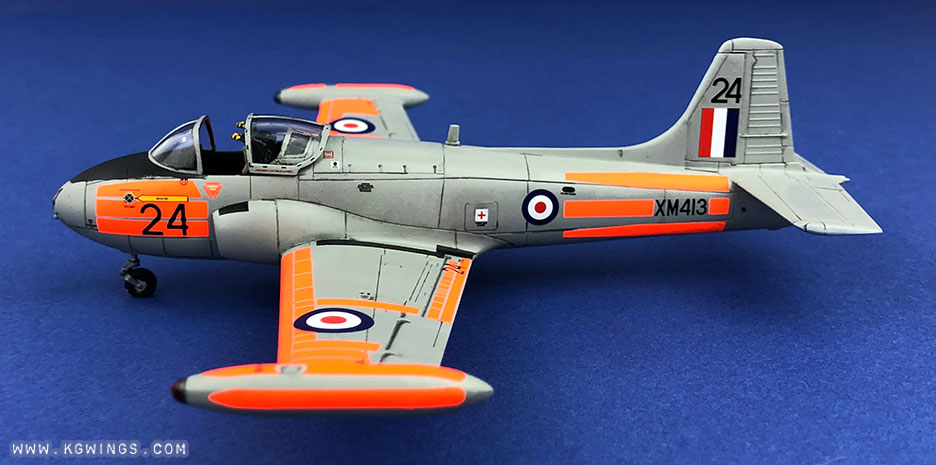 |
The only headache I encountered was with the decals. Although they are completely opaque and printed in perfect register, the dayglo orange markings are very rigid and resist conforming to any kind of curved surface. |
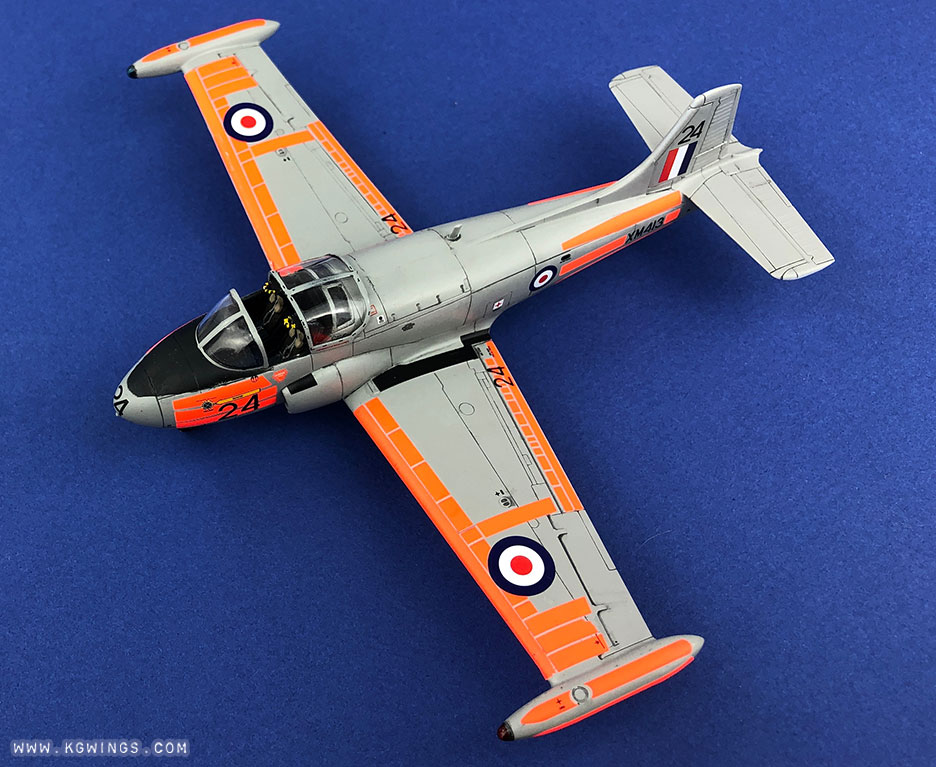 |
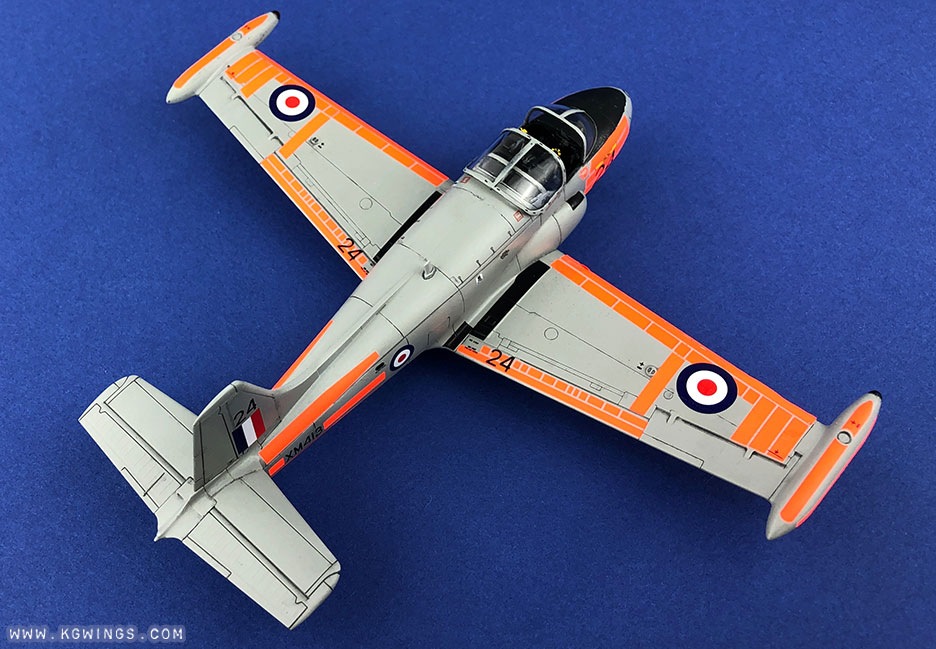
| Even after repeated coatings of Micro Sol the markings that wrap over the leading edge of the wings cracked into small pieces rather than bend. Somehow I got the port side to wrap fairly well, but the starboard side cracked and fell apart, I just patched it the best I could and moved on. All of the other decals (non-dayglo) went down perfectly so I recommend building the alternate paint scheme if you want to take the easier path. |
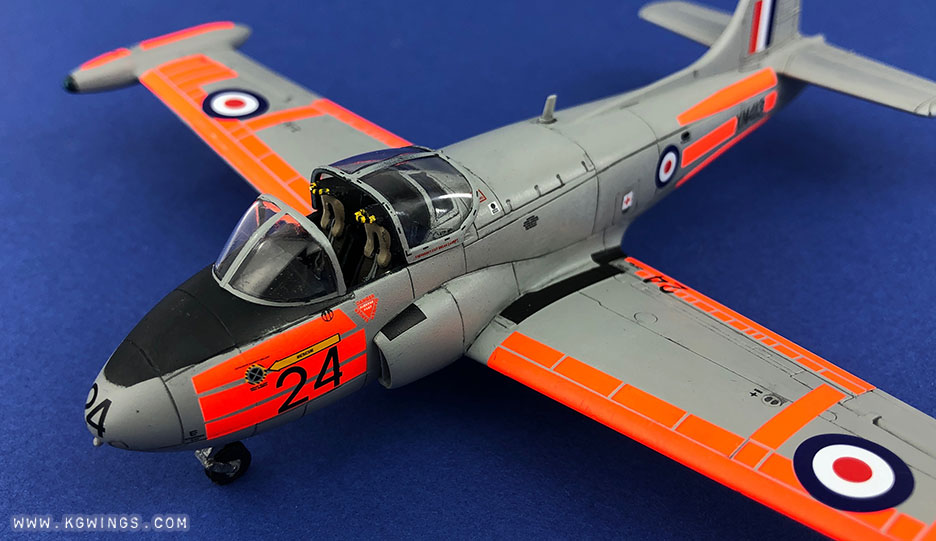 |
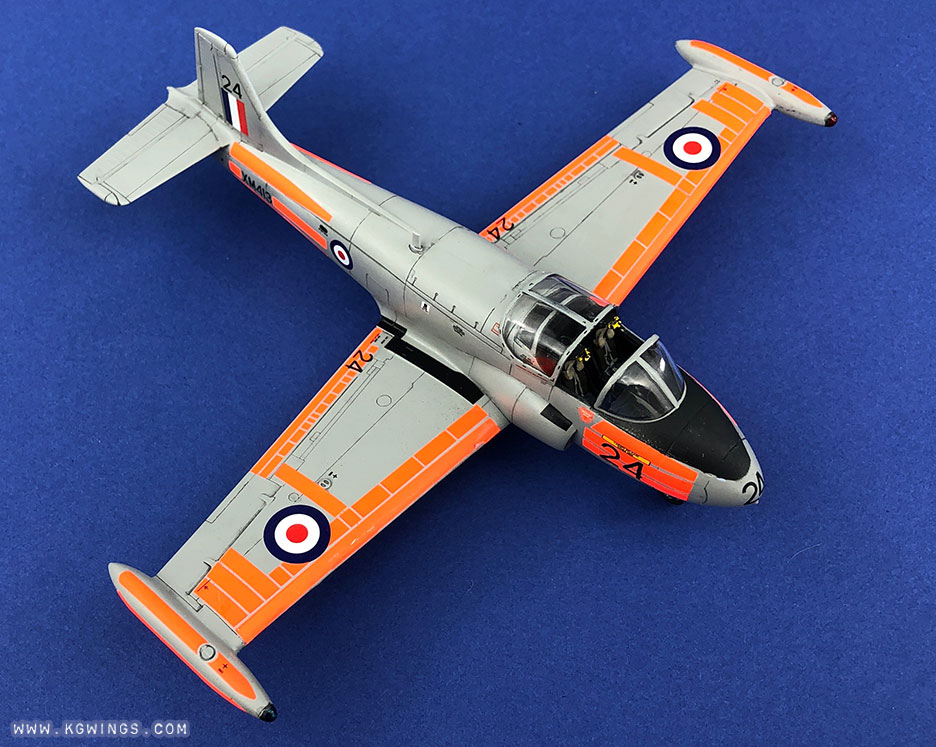
| The ejections seats are above average in detail, especially for a kit in this price range. There is some nice detail inside the cockpit but the all-black interior it's pretty difficult see. |
 |
| Here you can see where I tried to repair the dayglo decals on the leading edge of the starboard wing. I sacrificed the decals meant for the undersides of the wingtip tanks and used them as patches. |
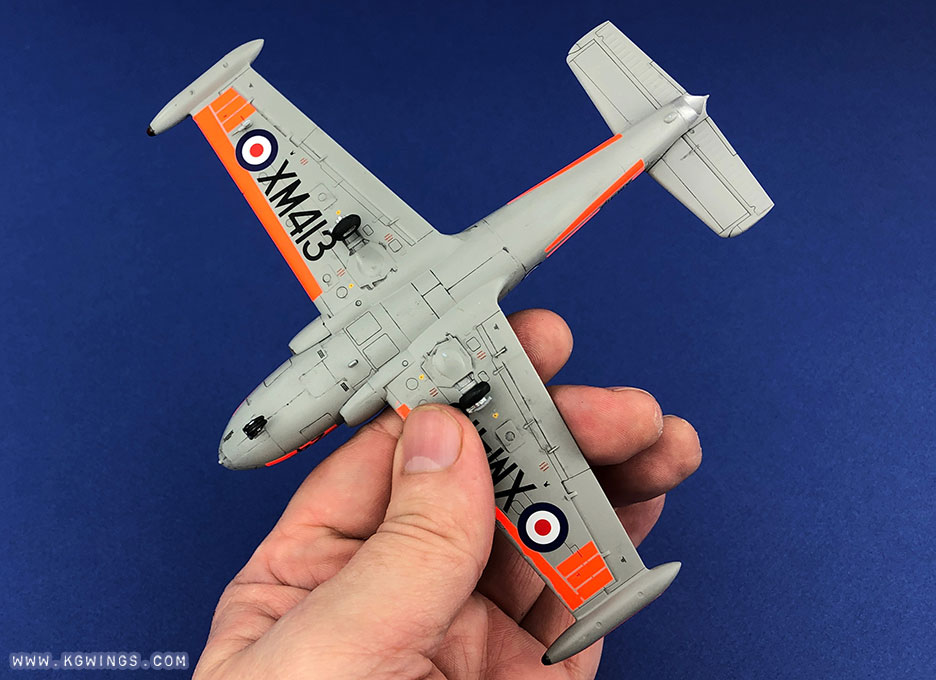 |
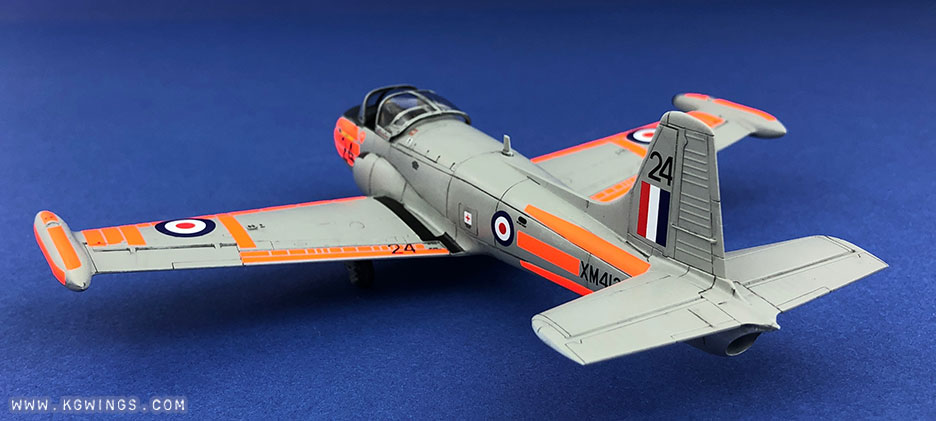
| I probably could have done a bit more weathering on the underside but this thing sits so low no one is ever going to see it anyway. |
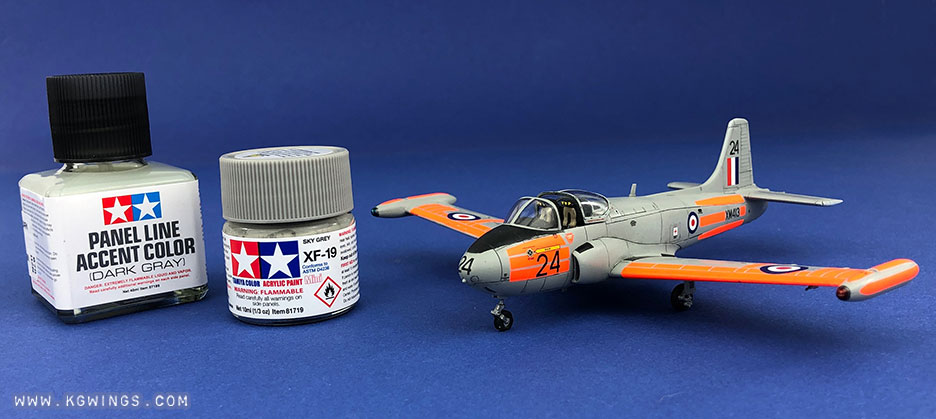 |
| Despite the battle with the dayglo decals, this was a really fun build. One of the nicest ten dollar kits I've built in a really long time. |
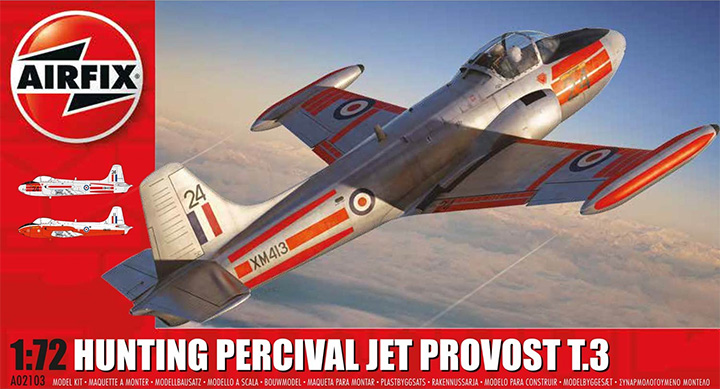 |

Kit: Airfix #A02103
|

Scale: 1/72 |
Value:
I purchased this kit from an online hobby store for $9.00 (US) which is a complete bargain. |
The Kit:
Approximately 43 parts molded in light gray plastic.
Approximately 4 parts molded in transparent plastic.
Instruction sheet is full-color, 8 pages, CAD type illustrations shaded nicely with red highlights.
Decals are provided to make:
2 FTS XM413/24 | RAF Gaydon 1967, or
1 FTS XM461/11 | RAF Linton-on-ouse 1984
|
Assembly:
As usual we start in the cockpit, there is a lot of nice detail here on the rear bulkhead, floor and even side panels. The ejection seats are nice enough that I barely made any improvements, just added lower seat harnesses made from masking tape. The instrument panel is represented by a decal that looks extra nice if you add a drop of clear epoxy over each of the dials. Nose weight of 2.5 grams is required.
Wings and fuselage fit together very well with barely any filler used. I used some styrene tube to extend the exhaust into the fuselage otherwise you could see into the empty cavity. I thinned down the inside of the intakes a bit.
Parts are provided to build with gear up or down. Tires are molded with bulge which is a nice touch.
Plastic is a bit soft so take care when sanding and cutting so as not to remove too much material.
Panel lines are recessed, a bit deeper than most kits but acceptable.
Transparent canopy parts are thin and very clear, parts are provided to position open or closed.
The day-glo color decals are very difficult to work with. They are very thick and resist conforming to the kit. This is a major problem on the leading edge of the wings, I was able to wrap the port side decal after about 10 applications of Micro Sol but the starboard side cracked into small pieces using the same technique. I sacrificed the decals from the underside of the wingtanks to try to patch as best I could. All other decals went down perfectly, it was just the dayglo that was a problem. If you're not up for a decal fight I recommend building the alternate scheme for No. 2 squadron.
This a great quick-build kit that was still fun despite wrestling with the thick dayglo decals.
|
Custom Modifications:
Extra seat harnesses made from masking tape.
|
Recommendation:
If you are in the mood for cheap and fast build this is a great kit. Avoid the the dayglo decals unless you're ready for an exercise in patience.
|