 |
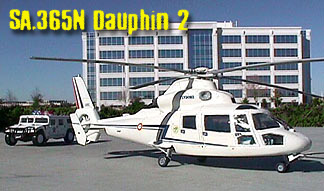
| In the early 1970's Aérospatiale began development of a helicopter to supersede the Aloette III. The prototype AS.360 Dauphin first flew in 1972 with fixed landing gear and a single engine powering a four bladed rotor. |
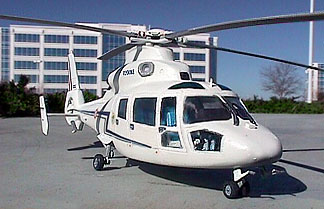 |
| A twin-engine prototype designated SA.365 "Dauphin 2" was first flown on 24 January 1975. Based on the SA.360, it introduced two Turbomeca Arriel turbines delivering 650shp each. Production began in 1977, with steady demand for the aircraft by civil operators and oil companies. |
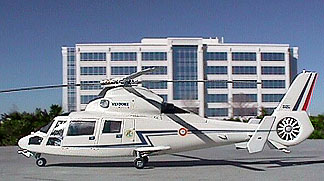 |
| Further development led to the SA.365N with 90% new or improved parts. Modifications included extensive use of composite materials, new rotor blades, retractable tricycle undercarriage and a lengthened cabin capable of holding 11 passengers. |
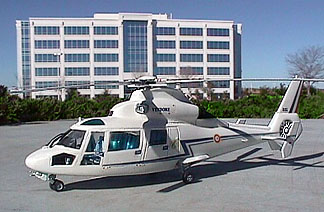 |
| This is a typical Matchbox offering molded in multicolored plastic with highly simplified details and panel lines. As with many Matchbox kits it was the only offering of the subject in any scale for many years. |
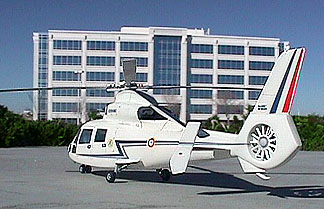 |
| I scribed a few of the missing panel lines in the fuselage but didn't go all out since they don't show up well on this clean white paint scheme. |
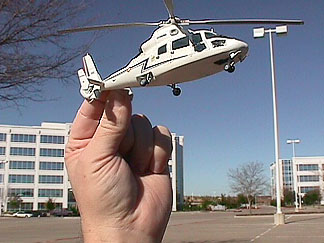 |
| I received a remarkable amount of e-mail pointing out that I had neglected to include at least one "Giant Hand" photograph in my last post. I apparently didn't realize the importance of this tradition. Here it is for all you fans! |
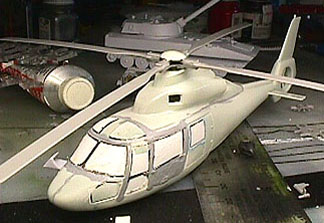 |
| I used Tamiya putty to smooth out the seams around the glass parts. Putty was also used to fill in the clear openings in the lower part of the cargo doors - common on many Dauphins. |
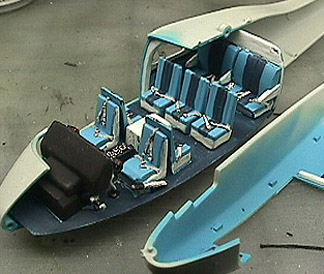 |
| The only parts Matchbox provided for the rear cabin were a featureless floor and bulkhead, so I dug through my spare parts box and came up with enough seats and scraps to build a plausible liaison seating arrangement. |
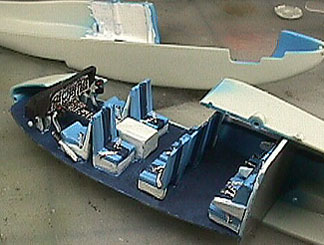 |
I tried a new technique with my instrument panels.
I downloaded an illustration of the panels from a website (my sincere apology for not recalling which site) and printed them at the correct scale on my inkjet printer. I then pasted them into place. I dabbed a little clear epoxy over the glass covered instruments. It was fast, easy and effective. |
 |
What to do when disaster strikes...
KEEP ON BUILDING!
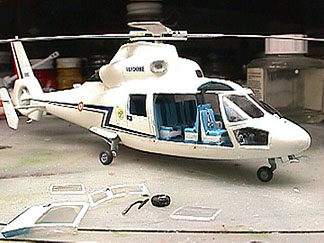
After painting and decaling the kit, I removed my window masks only to find that the windows were heavily coated with dust from the inside. Apparently it was sanding dust that got in through the engine intakes which I should have plugged before sanding.
I tried blowing air into the cabin which didn't work, so I decided to try filling the entire kit up with tap water to wash it out. The tap water appeared to solve the problem until it dried and it left a mysterious foggy effect that never went away.
I was very close to pitching the whole kit into the trash but decided to go ahead and try cutting away the glass parts to get inside. The photo above is only half the damage I inflicted while fixing the problem.
In the end I was able to clean the windows, patch the paint chips, putty the broken seams, and touch up the damaged decals enough to add the kit to my website, but this kit wouldn't stand a chance with even the most far-sided IPMS judge.
I'm very glad I persevered as my Dauphin and I have now formed that special bond that only a modeler and his model can understand. |
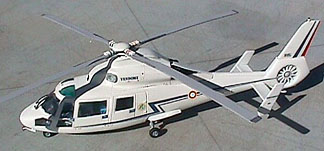 |
| This kit was fun to build despite my mistakes and I'm glad I stuck it through to the end. |
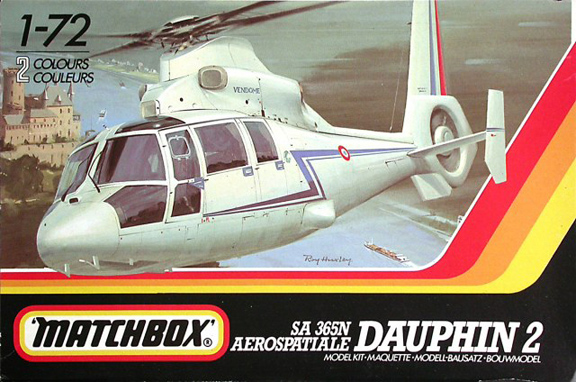 |

Kit: Matchbox #PK0038 |

Scale: 1/72 |
| Cost: Purchased on Ebay for $5.00 (US) plus shipping. |
Decals: Stock.
Optional markings were included for McAlpine Helicopters Ltd. Hayes, Middlesex, England, 1984. |
| After Market Parts: None. |
Review: This kit has 93 parts in all, molded in a mix of light gray, dark gray and clear. All parts were flash free. There are few panel lines molded on this kit and deeply recessed but not enough to ruin the kit.
Some details such as landing gear and interior are over simplified but can be modified to look more realistic.
The parts fit together well with the exception of the clear pieces which will need filler. Matchbox only provides a floor and bulkhead for the rear cabin so customizing or blacking out the windows is recommended.
This kit could be a fast easy project for a beginner, or a nice fixer-upper for an experienced modeler. Do to the rarity of this subject in the modeling world I recommend this kit to any small scale helicopter enthusiast. |
Customizing: My interior is mostly scratchbuilt. I used various "spare part" seats with armrests to finish out the rear cabin in an executive style layout and constructed a table from scrap styrene. I painted the interior in two blue tones and white with seat harnesses fabricated from strips of masking tape. Aerials were made from scrap styrene and stretched sprue.
I took the lazy approach and just painted in the missing auxiliary intake centered above the cockpit. |