 |
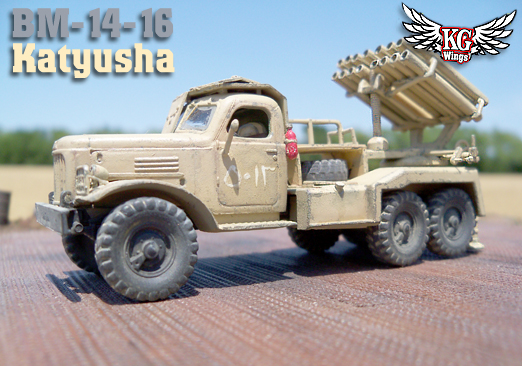
| In the early 1950s the Soviet Amy's multiple launch rocket system "Katyusha" BM-13-16 was developed into the BM-14-16 which could deliver 140mm high-explosive fragmentation (M-140F) rounds, smoke rounds (M-14D) and chemical rounds up to 10km (6.2 miles). |
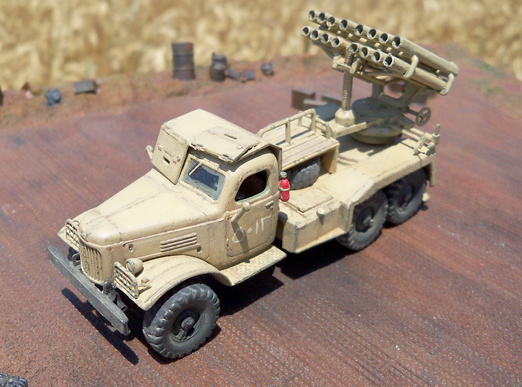 |
| The Katyusha is extremely effective in saturation bombardment. With a rate of fire of 2 rounds per second, it can put its 16 rockets on target in approximately 8 seconds. The rockets are spin-stabilized to reduce the dispersion of rockets and thus to increase the accuracy and density of salvos. |
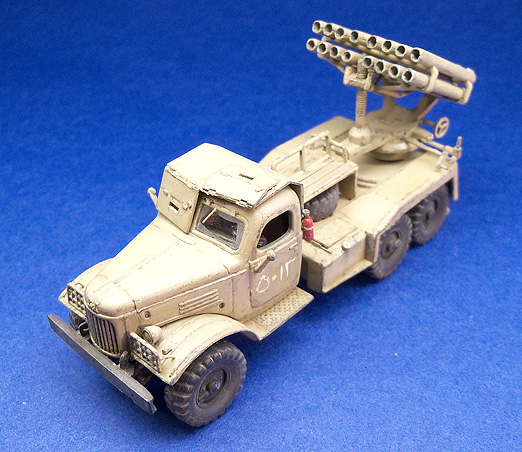 |
| The Zil mounted BM-14-16 was operated by many nations including Algeria, Cambodia, Cuba, Egypt, Indonesia, Russia/Soviet Union, Vietnam, Yemen. |
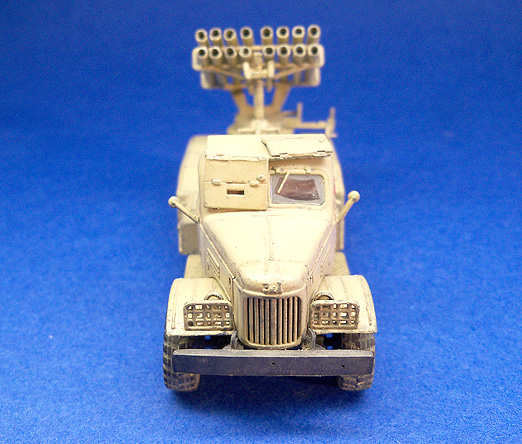 |
| Presently the BM-14 has seen active use by the Cuban Armed Forces and the Taliban in Afghanistan. |
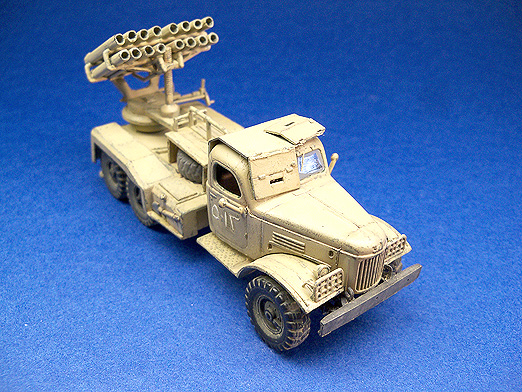 |
| The Egyptian Army used a number of rocket systems including the BM-14-16 provided by Czechoslovakia and the Soviet Union. |
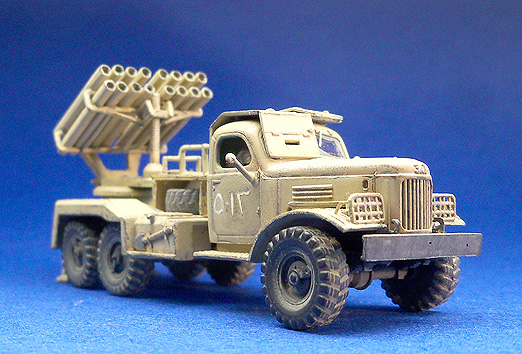 |
| The chassis, cab and undercarriage of this kit are common parts used on all of ICM's Zil-157 truck kits (cargo truck, fuel bowser, command truck, bm-13-16 and bm-24-12). |
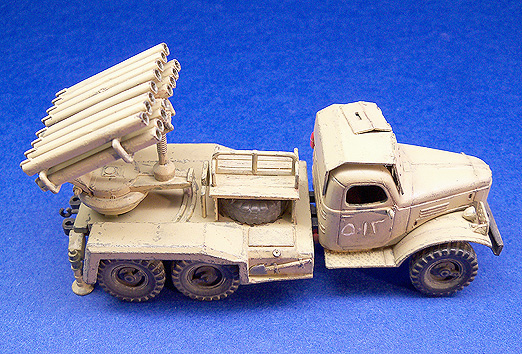 |
| The launcher takes the most time to assemble partially because each tube is molded in two pieces and takes careful sanding and filler. |
 |
| Although the tire tread pattern is not perfect, it ends up looking pretty convincing after painting and weathering. |
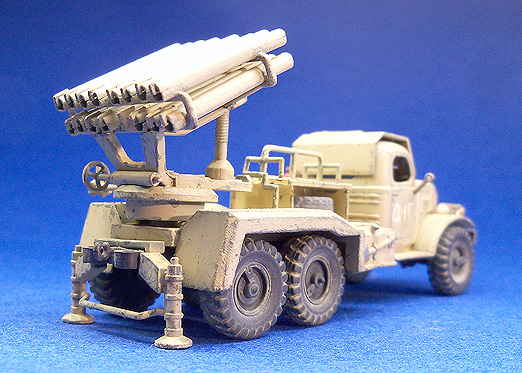 |
| This is the first desert paint scheme I've done in many years so I was worried how it would turn out. I learned a lot by the time it was completed and hope my next desert scheme will be even better. |
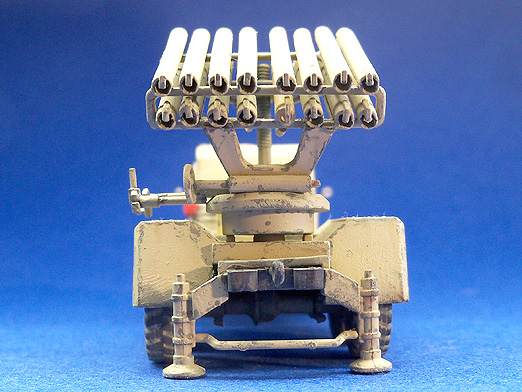 |
| The rocket tubes really are a pain to assemble, remove all the seams, and align correctly. Despite my best efforts some of them are still a bit crooked. |
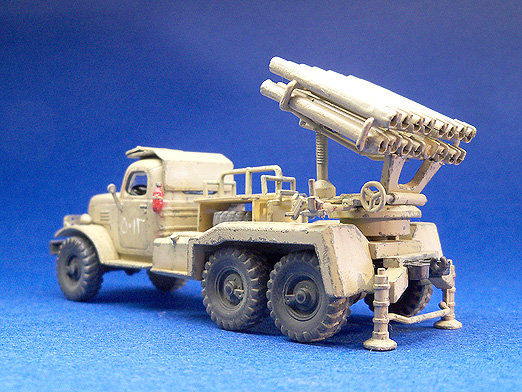 |
| I wanted my paint chipping to be subtle rather than out of control so I used the end of a sewing needle to apply green paint along edges and areas that seemed logically to be scuffed and scraped. |
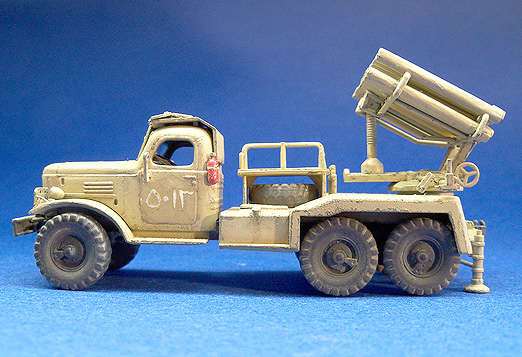 |
| I thinned down all the fenders to make them more scale correct. Small shims were also added under the bed assembly so it would sit high enough to clear the rear tires. |
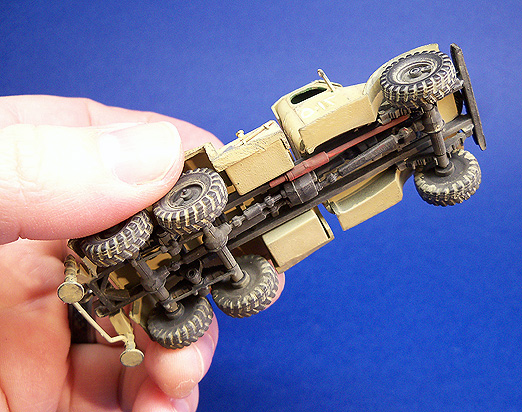 |
| Although the undercarriage detail is a bit soft, all the major parts are included and look pretty good after painting. |
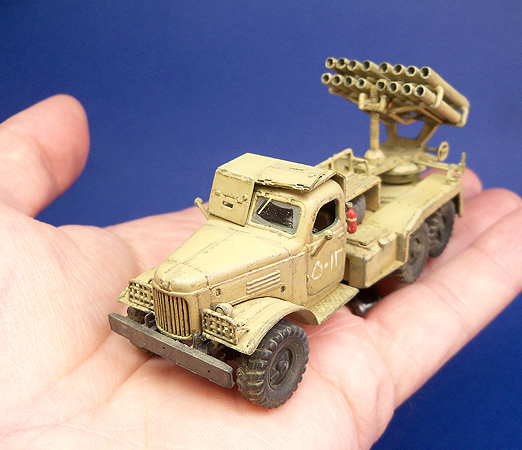 |
| Overall I'm very pleased with the kit and how it turned out. It's a really nice addition to my collection. |
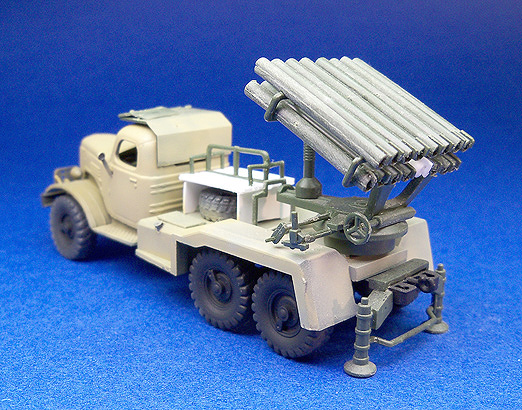 |
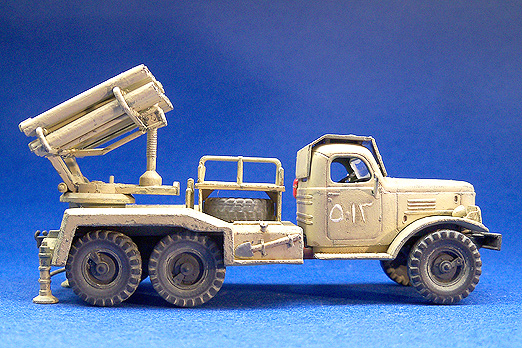
| This is an early photo where I was experimenting with my desert color which was too light. You can see where I lost and replaced one of the launch tubes and the crew seat. |
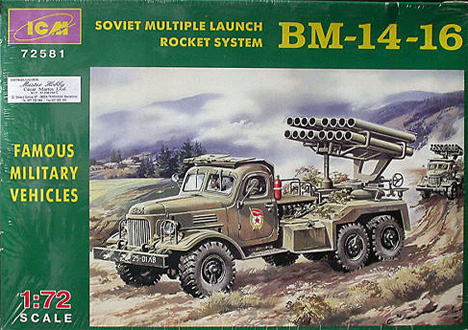 |

Kit: ICM #72581 |

Scale: 1/72 |
Cost:
Approximately $12.00 (US) at the time of writing. Mine was purchased for a mere $5.00 during Squadron Mail Order "Open House". |
Decals:
Decals provided for Soviet Army, Romania, Czechoslovakia, Poland, East Germany and Hungary. Printed in register and opaque. |
Assembly:
128 parts in the box, molded in green, black and clear. 3 brass axles, 1 decal sheet and 1 instruction sheet.
The chassis, cab and tires are common parts found in all of the ICM Zil-152 kits (also packaged as Omega-K and MAC). All molded reasonably crisp with light flash. There are no part numbers molded on the sprue trees so you have to do a lot of careful referring to the instruction sheet.
Assembly starts with the chassis which is fairly straight forward however test fitting revealed that the cab sits too far forward to clear the front tires. My solution was to move the mounts for the front springs forward a couple of mm. The rest of the cab and chassis assembly went smoothly. The cab's interior is simplified but has just enough detail to look ok after closing up.
The rocket launcher is a fairly complicated assembly with lots of really small parts. Each tube is annoyingly molded in 2 halves which are difficult to line up and require filling and sanding to remove the seams.
Somehow I lost the crew bench seat that goes between the cab and the launcher, so I scratch built a new seat which turned out fine.
The brass axles are too long so I used a steel file to shorten them to the correct length. |
| After Market Parts Used: None |
Customizations:
Hand painted the arabic unit numbers on each door. Sanded and thinned the front fenders and mud flaps to make them more to scale thickness. |
Recommendation:
Even though assembly is a bit difficult due to no locating pins on the bed and cab, and due to the many small parts of the launcher, I think most modelers will prevail. I recommend this kit to any fan of small scale modern armor. |